|
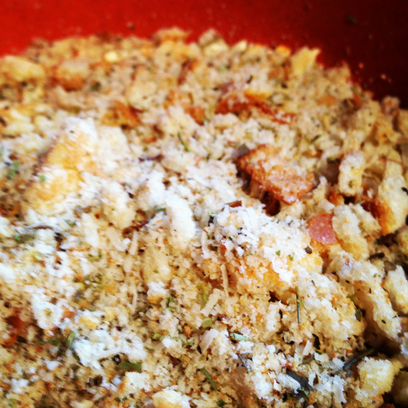
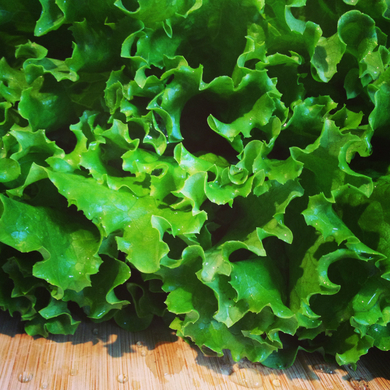
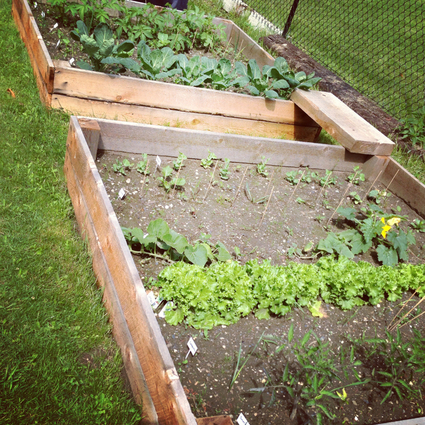
Over the years, I've done a lot of trial and error cooking. Thankfully, most of it has been more in the 'trial' category. I really love trying new things, so when I was really craving some Alfredo sauce the other day, I figured, why not try to make it from scratch, rather than buying the store bought sauce. I'm never going back! It was so easy and so delicious. I combined a bunch of recipes into one, and it became my own. But, giving credit where credit is due, my inspiration came from the alfredo sauce recipe at allrecipes.com And to mix it up, I added a few ingredients from Chef Michael Smith's recipe, specifically the nutmeg. Yum! Not to mention he is a Canuck! I also tossed it with olive oil, just for the fun of it..... Then I threw it on the peas and cauliflower and of course, the tortellini, and man, was it tasty. The freshness really took it to a whole different level.  Tunis Serving Bowl in Grey-Black design by Canvas - $75.00 from: Burke Decor LLC Another instant where fresh was better than packaged was the recurring breadcrumb incident. I never have breadcrumbs. It's just something I never think to buy, so when it comes to a time where we need them, we improvise. Beautifully, I might add. First, I take some fresh bread and toast the crap out of it. It should crumble into crumbly crumbs easily. Then, season them with whatever spices your heart desires. I'm usually into a herbs du Provence kind of flavour, so that, paired with good old salt and pepper, plus a little Parmesan and garlic (powdered works better for this one), has my buds doing some sort of happy dance. My taste buds, that is. And not to brag or anything, but the lettuce we grow in our garden tastes WAY, way better than the stuff we get at the grocery store. I'm pretty sure it's been freeze dried. Just look at how fresh it looks! It's my first time actually reaping the benefits of my own garden, so bare with me! Have you been surprised by a recipe that is so easy that you just CAN'T buy it from the store anymore? Let me know! Happy Reading! Jena xo  Dropp! Fruit Bowl design by Menu (Leaf) - $55.00 from: Burke Decor LLC
0 Comments
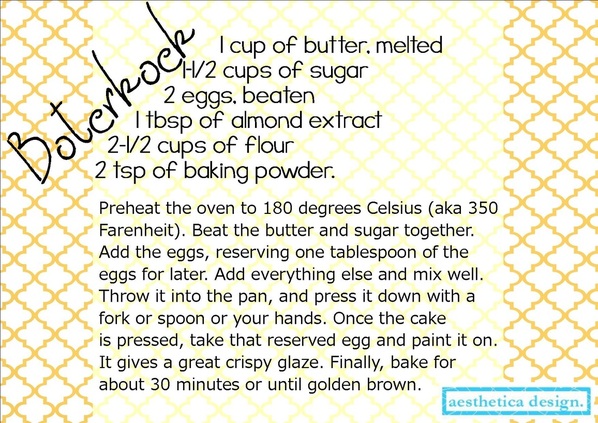
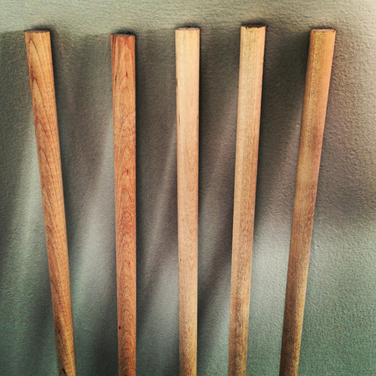
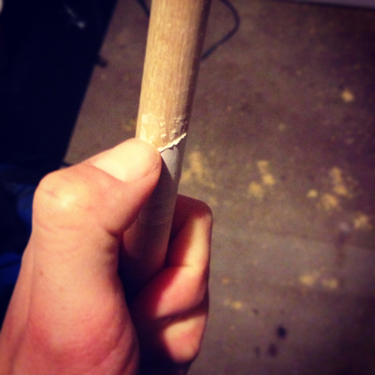
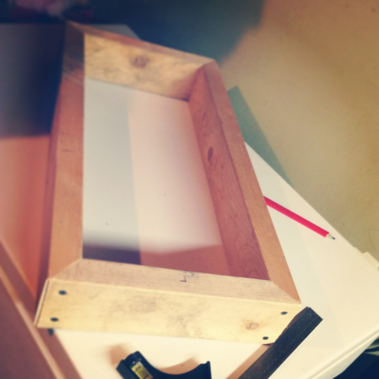
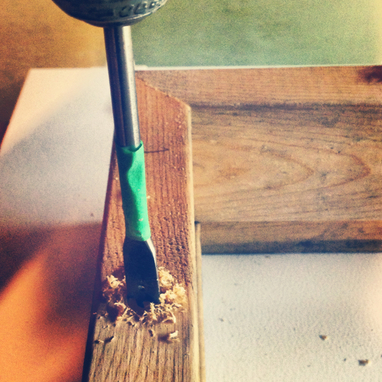
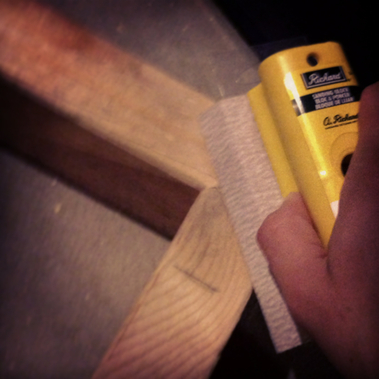
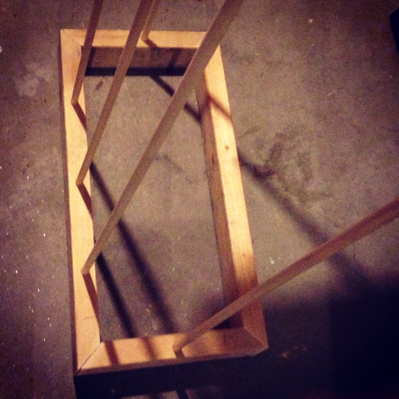
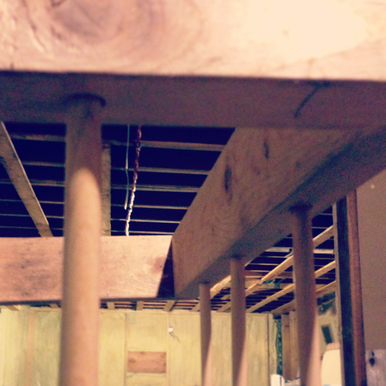
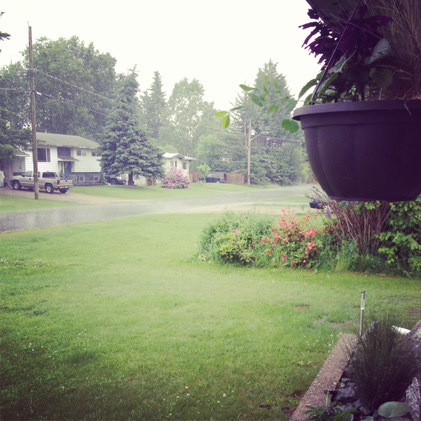
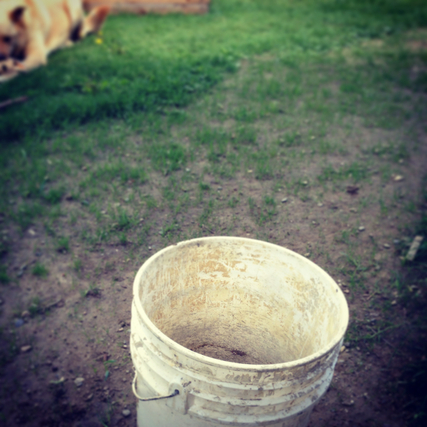
I'm letting you all know about my family's favorite cake recipe: Boterkoek. I absolutely loooooooove this, probably because it has to be the worst for you. Literally translated from Dutch, boterkoek means butter cake. Yup. Butter cake. You have to indulge every once in a while. So if you do, I'd highly recommend indulging on this. I'd keep it a secret, but after that hype, you'll probably just google it, so here it goes.  Traditionally, you'd use a round boterkoek pan, but whatever dish you decide to use is just fine. I'm all for improvising. Lastly, indulge! My mouth is literally watering. Guess what we're having for dessert tonight.... Jena xo  Abbesses Cake Stand with Red or Blue Rim by Canvas - $60.00 from: Burke Decor LLC As I've mentioned before, we have a numerous amount of stuffed animals. It was getting a little wild here with lions and tigers and bears. Oh my. To solve this, I decided to cage the mayhem, by building a stuffy zoo. Check out my inspiration here. It looked easy enough! Famous last words.... I started with the 1/2" dowels as the bars. Easy enough. But why do they have to put those stupid stickers on them? They never peal off! So after I half pealed one off, as shown below, I said, "Later." And that's another project in itself to finish in a few months or years. So I started chopping the base pieces, but I wanted them with a 45 degree cut, so I got Adam to help me with that. I'm still new to using all these power tools and it just scared me a little. But I held the umbrella for him as it started to sprinkle, so I still helped! Then I assembled the base and upper part of the "cage". Back on to the power tools! To help me know how far to drill the holes for the "cage cars", I used Adam's trick of taping it and drilling to that point. He's so smart! It's much more precise than eye-balling it. It definitely came together once I got the holes drilled. That actually took the longest, but only because the drill died and I had to go back downstairs every half an hour to drill three more holes. A little math practice here- five dowels times two holes each= ten holes at two- three per hour= a lot of time. After some serious sanding to hide some of my not so epic connections, it was coming together. It also made it less sharp and just looked much nicer. Then I popped in the dowels or "cage bars" and it became an almost completed zoo! Of course, our local* hardware store only had 5 of the 1/2" dowels in stock, so I bought them all, figuring I could rig something else up, but I'll have to go to the other hardware store for three more for the backside of the zoo. I will have to buy some wood glue too, and glue the dowels into the holes. I came down with a flu so that still hasn't happened quite yet. *I always try to shop local when possible, but sometimes it's ridiculous. Anyways, we don't want any bears escaping! So, it is almost done, but for two reasons I have not finished. Firstly, the flu had be convinced I was dying, so it became low on my priorities. Secondly, I wanted some reader input into what color I should paint the zoo. I want to hear what you think it should be! Thanks for reading! Hope you are having a happy Monday! Jena xo  Tiny Train Reversible Cushion design by Ferm Living - $70.00 from: Burke Decor LLC Everyone loves that moment in the year where you start catching the glimpse of that green grass growing! We are especially excited this year because after our landscaping weekend, we've seeded all those dirt craters, and the grass is starting to come in! We were very lucky because, while we've had an unusually nice spring, right after we seeded the grass, it rained for a few days. I love the rain; it's the grey skies that bother me, but we were definitely thanking the grey clouds for finally giving it up. One of the things we haven't gotten around to is getting rain barrels. The house had no downspouts when we bought it, which we have added on the front of the house, but we wanted to take advantage of the copious amount of rain we usually get in the spring, so rain barrels in the back were the plan. It is now almost officially summer, and sadly we haven't found any that we like yet, or that aren't really expensive. So for now, this giant bucket will do. Clearly, the buckets do the same thing as the expensive rain barrels, and the garden is getting nicely watered with the rain- collected or not.  Aquarius Coaster Dish design by Thomas Paul - $4.50 from: Burke Decor LLC One thing I am surprised the more houses do not have these days is grey water systems. If we were to ever design build our own house, that would be one of the things I would be putting in. How much water is wasted when we shower or bath? With a grey water system, a lot of that water that is now undrinkable is able to still be used in other ways. Such as watering the lawn or in the toilet. Why would we need potable water in the toilets, just to literally flush it away?! It's sad how wasteful we are, without even being totally aware of it sometimes. Learn a bit about grey water systems here. I encourage you to think about water conservation, and just to be aware of it. Before throwing your water from the nightstand down the drain, water your plants, or after a bath, fill up the watering can. What are some ways you are trying to save water? Let me know in the comment area. Thanks again for reading! Jena xo
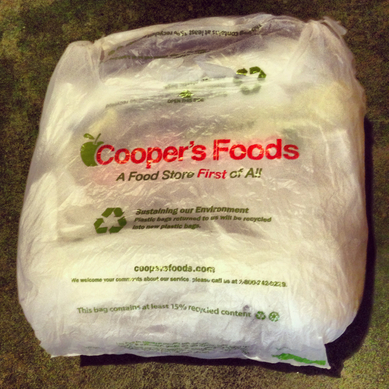
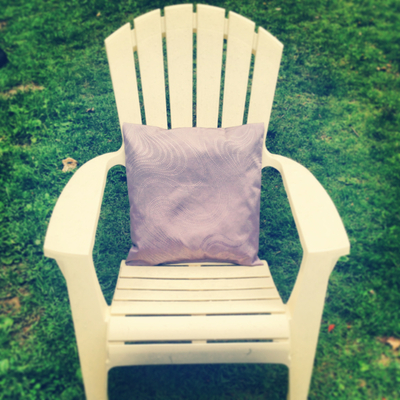
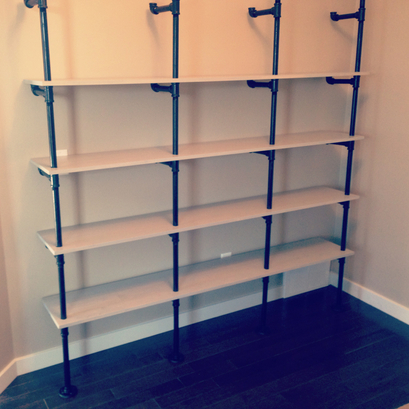
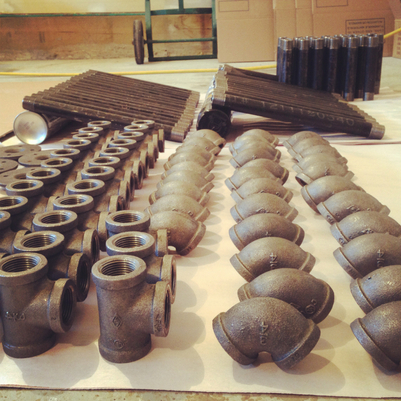
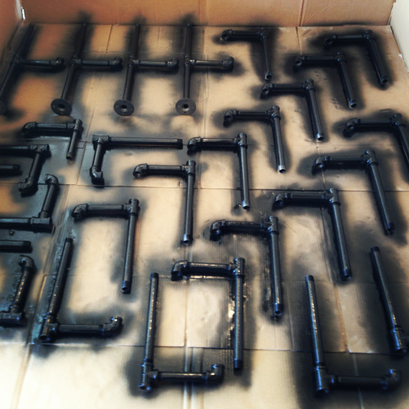
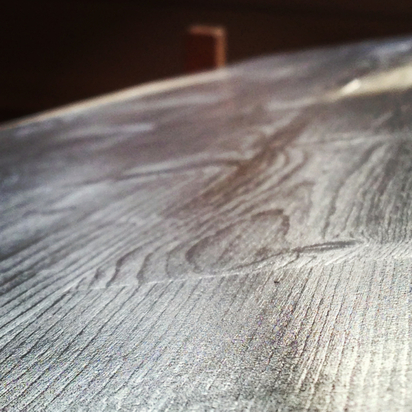
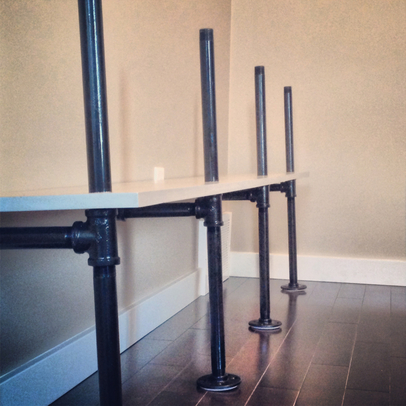
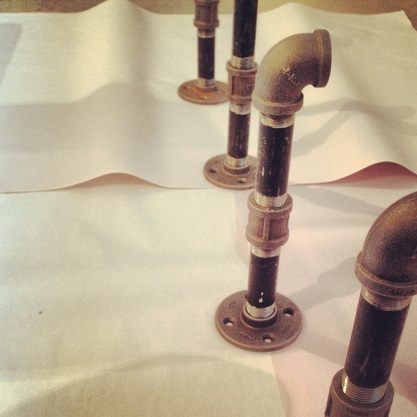
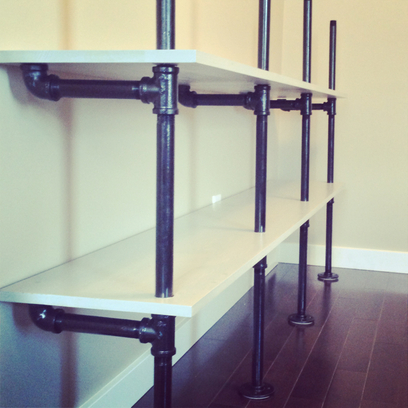
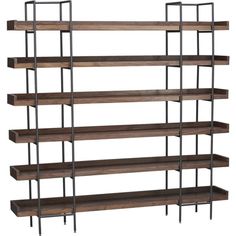
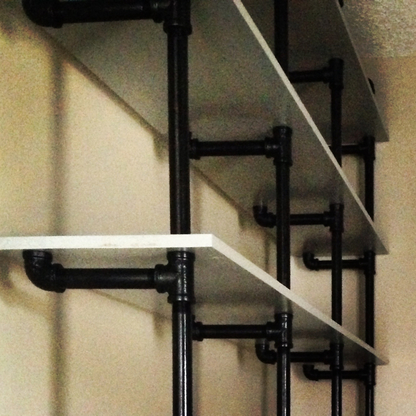
Ever thought of how many grocery bags are wasted every time you go shopping? I try so hard to remember to bring one or two of the reusable bags, but I always seem to forget about them until I am at the check out. It's an issue I am truly working on, and there is hope! I am getting better at remembering. Regardless of my attempts, I have one billion grocery bags. Yes, one billion. I counted last night.... ....Into this! Outside needed some pillows and voila! I doubt I need to give instructions on this one, but I will anyways in five simple steps. 1. Cut a square piece of material slightly larger than a grocery bag (Use a durable feeling material for outside) 2. Sew three and a half of the sides inside out. 3. Turn the material back to good side out. 4. Stuff with garbage bags as shown in first picture. 5. Sew shut. Done and done. Thanks for reading! Jena xo  Salamander Yellow Throw Cushion design by SunnyLIFE - $49.00 from: Burke Decor LLC  Camden Charcoal Floor Cushion design by SunnyLIFE - $72.00 from: Burke Decor LLC This is a very cool project done by my great, and clearly crafty, friends, Matt and Erin. I love the mix of industrial materials and wood. I am a huge fan of contrast, you just can't go wrong with it. Black and white, yes and no, hot and cold. Classic examples. Kind of sounding like Katy Perry there. Matt send me this picture below, asking what to do with all these pipes, and immediately, I thought of shelves, which is exactly what they were planning. Great minds definitely think alike. Since this was a project done by Matt and Erin, I had some very serious questions for them. Jena: So all in, about how much do you think this cost you? (Approx?) Matt: $557.56 Jena: Breaking it down, what was the cost of the plumbing supplies? Matt: ~$320. ¾” T’s, 90’s, Flanges, and of course.….6” and 12” nipples. Jena: Big nipples. Jena: What was the cost of the wood? Matt: ~$125 Pine, pre-sanded, tongue and groove veneered. After much searching I selected veneered wood as it seems the most stable and least amount of prep time. It also provides an interesting look with all the random grain structures. Jena: Well, it looks awesome, that searching paid off! Jena: What about paint & other stuff? Matt: ~$110 Jena: What paint (and other stuff) did you use? Matt: 1 Coat - Minwax Water Based Stain, White base with 7 shots of black. 3 Coats - Varathane Semi-Gloss Polyurathane 2 Coats - Tremclad Gloss Black Spray Paint (pipe) 220 Grit Sandpaper Tack clothes Foam Brushes Staining Sponges Jena: Good to know, that lays it out well. Copy and paste. Shopping list done! So, where do I pick up the supplies? I mean, where did you pick up the supplies? Matt: Plumbing - Emco Supply Wood – Windsor Plywwod Paint & Others – Your local hardware store Jena: How long did it take you? This includes beer drinking and breaks... Matt: Probably about 40 man and lovely wife hours! Jena: Any challenges? Matt: Get yourself 4 hands and 2 less beers for assembly. Years ago I swore I would never buy plastic anchors again. Purchase good wall anchors preferably made with metal components. My first ones were plastic junk and blew apart….again. Jena: Are there things you might do differently the next time? Matt: Lights are always fun. It would have been nice to run some wiring through the piping and have overhung accent lighting on the books. It can still be done ;) Because it is 9 feet high, with all the arms are cantilevered, it could have been anchored to the wall somewhere in mid-shelf. A good engineer would have done a free-body diagram and figured this out first! Jena: Any Tips? Matt: Make sub-assemblies like in the photo. Final assembly will be much easier with less chance of wrecking walls and floors. Jena: That's a great tip, I probably would have thought of doing that after I finished putting it all together and my walls needed patching. Any other tips? Matt: Purchase all the gas fittings from one supplier to keep the assembly consistent (they are all NPT thread but the length varies) On a smaller shelf, to save some $, you could use ½ piping. Measure, measure, measure…….measure! I have about a hundred more tips but I don’t want to ruin the excitement of your own build. Jena: So after it was all finished, what was your favourite part about it all? It obviously looks really great! Matt: I love learning how to do stuff. This was my first wood working attempt and it turned out as envisioned. Jena: Your first?! I'm impressed. Clearly, it comes pretty natural to you. Is there anything else for next time? Matt: If it was a center piece, display shelf, or focal point of a room, I would introduce different shelf spacing. This would provide a home for the mixture of art, televisions, flowers, and storage boxes we all have. Jena: That would be really cool, I just might have to either try it out or just get you to make me one! What was your inspiration for this project? Matt: I finally remembered what my inspiration was…..the always overpriced ($1928.69 USD) and often under constructed Crate and Barrel shelf (pictured below). I almost knocked it over checking the price tag so how could I ever put books on it? Jena: Sorry, Crate and Barrel! Looks like handcrafted wins out! This has definitely given me an idea for a piece I'd love to have in my living room! You guys did a great job, and I can't wait to see it in person! Huge thanks to Matt and Erin for sharing this project with me, and
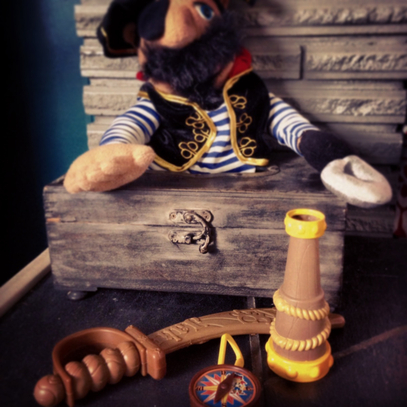
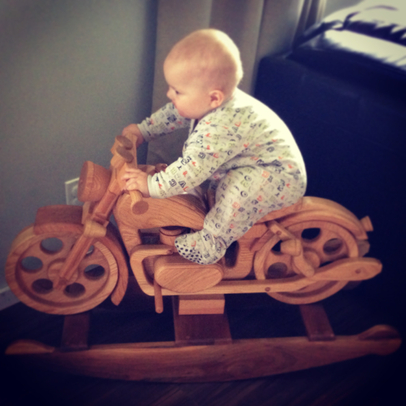
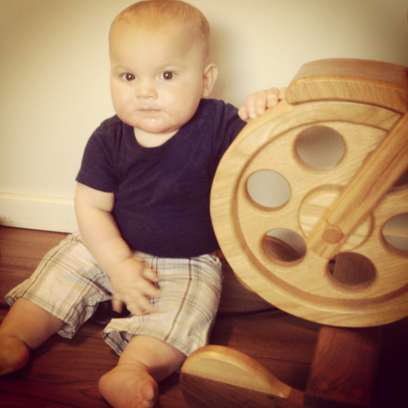
I look forward to seeing more! Stay tuned.... Any projects you have that you'd like to share on my blog? Let me know! And thanks again for reading! Jena xo It kills me when I see trees getting cut down. Maybe you can label me as a tree hugger, and if tree huggers cry at the sound of "timber!", then yes, maybe I am just that. These majestic trees that lined the river bank were cut down, and they had claimed that they were rotting. I'm not a tree expert, but I ran into an older lady, and we both were pretty choked about the whole situation. Neither of us could find any sign of rot on these trees. So why does this happen? Was someone's view blocked by the trees? Is there a parking lot going in instead? It always reminds me of Joni Mitchell's 'Big Yellow Taxi'- that they took all the trees and put them in a tree museum. Sometimes that is really what seems to happen! How backwards is our society that we would let this happen? That we cut down trees when they are "too big" because their roots are trying to get through the roads, just to replant them with new trees that will inevitably grow to do the exact same thing? Trees are so unique, and there is not a tree that is like another. I want a forest so bad in my backyard, which obviously is very lacking in trees at the moment, as seen here. I've had some fun times with trees. They make me feel daring and adventurous for some weird reason. I am starting to sound more and more like a tree hugger, hey? This is me chilling with one of the biggest trees I've ever seen. This would take a few tree huggers to show this tree some proper loving! Please make me feel better about the death of the trees above by sharing a good story about saving a tree or something! Anything! Please and thank you. Jena xo  Nottingham: Cream Wallpaper - $60.00 from: Graham & Brown, Inc. There are some toys that I've even integrated into the decor, as crazy as that sounds. It's gonna be pulled out as soon as it's put away, so I might as well save a step and keep them out. There are some toys that I've even integrated into the decor, as crazy as that sounds. It's gonna be pulled out as soon as it's put away, so I might as well save a step and keep them out. Because his parents are really into pirates, so is Keenan. Here is the proof of that, on display beside the fireplace. Which happens to be his favourite place to play and crawl on. I feel some grey hair coming on already. At least the edges have been baby proofed! If Keenan wanted to play with this wooden train set, he'd have to find all the pieces in the toy box and put it together every single time. Did I say he'd have to? Oh ya, I meant ME! Therefore, this train set it out on display for him to pull apart every other minute. But at least I know the pieces are somewhere on the floor and not amongst the millions of toys in the toy box. This was a cool thing, made on Vancouver Island, and given to us from auntie Michele and uncle Garry (they spoil him, along with every other auntie and uncle!) Too cool to put away in the toy box, that's for sure. I love that it's a very Canadian toy. This is truly a piece of art. My parents gave this to Keenan for an early first birthday present. Whoever thinks men aren't interested in children's toys have yet to see this bad boy. As all the men who have studied this rocking bike have found, each piece is in no way mass produced. What a labour of love. It was handcrafted by Craig Donaldson, and is a hit in our home, with his B.A. biker parents. Keenan is a little daredevil, particularly fond of trying to stand on the seat. But it really is the coolest thing, and I am proud to have this toy on display in our house. For the record, I only ride a pedal bike. Bathtime is just not truly bathtime without a bath FULL of toys. This is the only toy that I let stay in the bathtub; it's not only fun but also functional. I don't know if anyone else remembers smashing their head on the bathtub faucet, but I sure do. I should have listened when my mom told me that only oceans are supposed to have tidal waves... Anyways, this whale is cute and awesome, and prevents any smashed heads. And every time the whale starts barfing water, Keenan is happy, which in turn, means I'm happy.
Are there any toys you always have hanging out? Feel free to leave comments or suggestions! Thanks again for reading! Jena xo |
Ants on a BlogBy Jena Keenan Categories
All
Archives
November 2017
|
