|
Renovations are not always fun and easy. They usually are pretty stressful and somewhat terrifying, in case you were wondering. From experience, I've come up with a list of five ways to actually enjoy renovations. Or at least ways to renovate and avoid divorce...
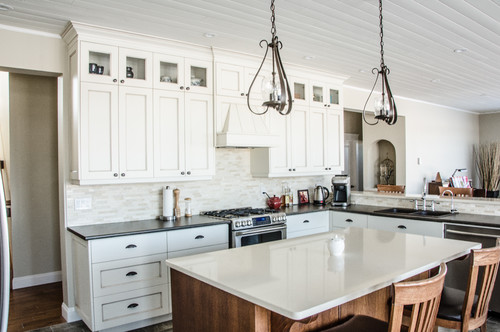
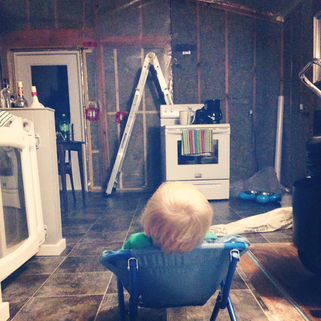
2. Communicate AND Compromise Not everyone sees eye to eye during renovations. Be prepared for this. She wants the white feminine kitchen, he wants a dark masculine kitchen. Design styles differ, for sure. This is where it is great to have outside advice. Between communicating what you want and compromising with what they want, this is super important to a happy renovation. If you are absolutely set on a design or finish, be prepared to explain why. And be prepared to listen to their side. And together, figure out a compromise. You want white, he wants dark. Why not compromise and have dark on the bottom and white on top. Or a dark island (with a light counter) and white cabinets (with a dark counter) Contrast is a great design trick, and contrast goes hand in hand with compromise. Below is a great example! 3. Don't Tackle it ALL Between budget stresses and the lack of amenities, I recommend against biting off more than you can chew, especially if you are living in the house. If all your bathrooms suck, maybe try renovating just one at a time. Everyone needs a working toilet and shower. When we renovated our kitchen, we didn't have a sink or a dishwasher, but at least we still had a working tub! Don't make your house uninhabitable while renovating. Just don't.
5. Know That It Will Be Worth It Remembering that it will all be worth it in the end is hopefully enough for you to endure the renovation. Patience is a virtue, after all. Getting stressed out and worked up only makes things worse, so just breathe, have a coffee break and have fun! If you aren't that excited about the renovations, ask questions and try to learn something to make it a more positive experience. Remember to laugh and be encouraging to everyone involved in the renovation. If you are encouraging, rather than negative, it makes the whole project more enjoyable- for everyone. Contractors or spouses will always react more positively towards someone who isn't freaking out and being unreasonable. So there you have it! Those are my 5 recommendations on how to actually enjoy a renovation. Enjoy your renovations, and enjoy your Valentines! Because that's what it's all about: LOVE. Happy homes make happy families. xo Jena Please note, however, that I actually am one of those people that really enjoys renovating anyways,
2 Comments
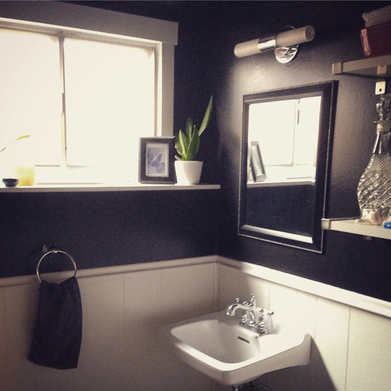
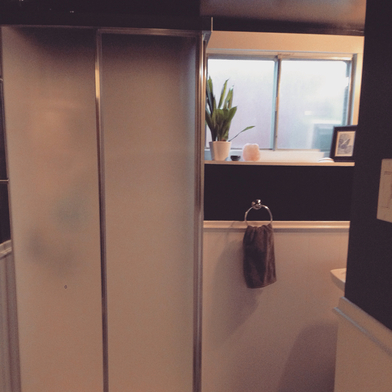
Honestly, this bathroom was pretty low on the priority list, but once it got finished, it was really nice to have two full bathrooms. After some fixing up, it had a working sink and toilet, so for the longest time, it was just our other half bath. When we bought the house, it came with a brand new shower that had never gotten installed, and with all the other renovations we had going on around the house, the shower sat in the box for a very long time.
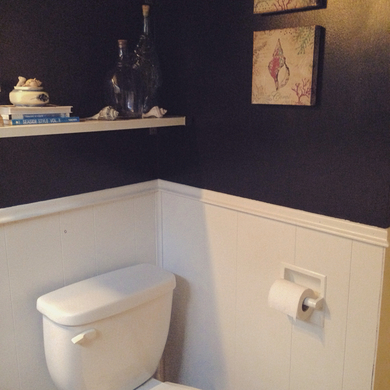
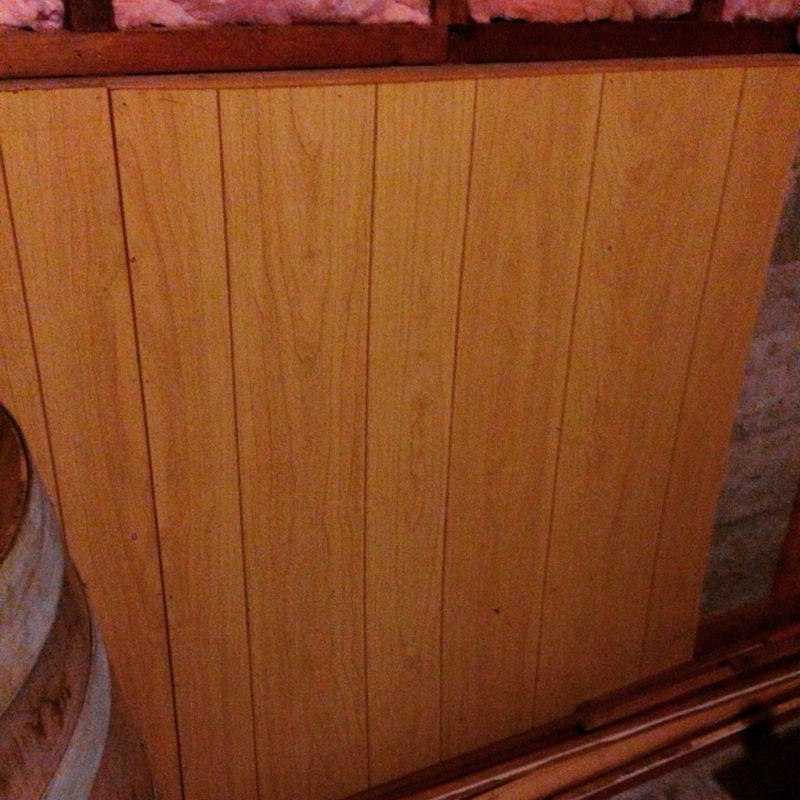
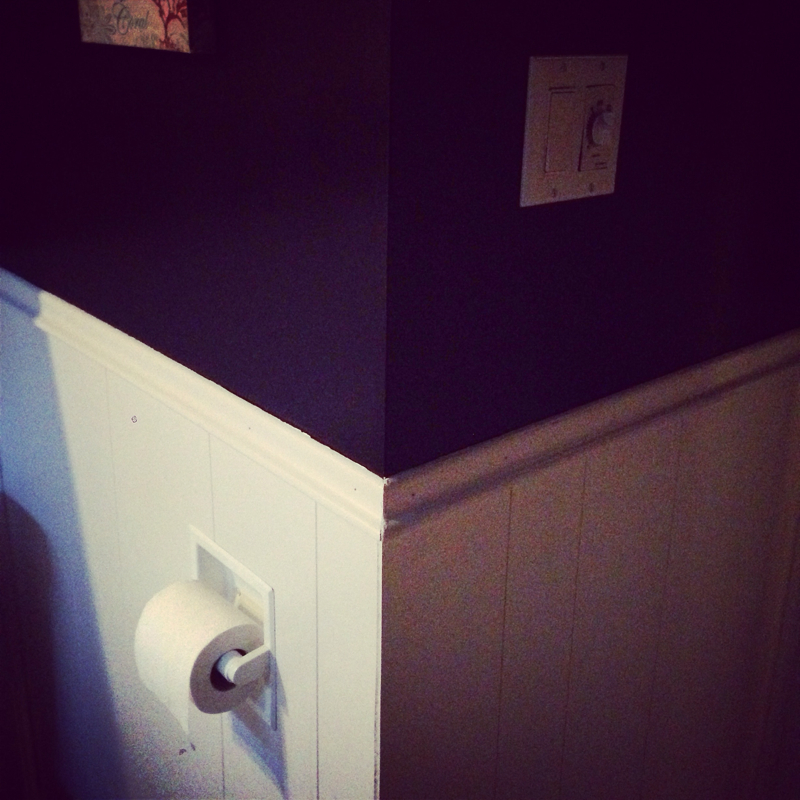
Besides painting a small bathroom such a dark colour, the next craziest thing we did was salvage the hideous wall paneling that was in our basement. After a coat of primer and then painting it with Benjamin Moore Trim Paint in Calm, the fake wood panels turned into classic wainscoting. I also re-used the old baseboards to top of the wainscoting. This made for a cheap feature in the bathroom! So, when people tell you that you can't paint a small room in a dark colour, you can go right ahead and tell them, "I do what I want". I love my black, small bathroom, and because I went so bold with this bathroom,
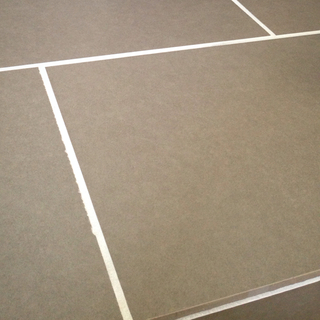
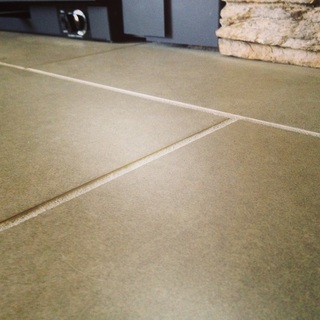
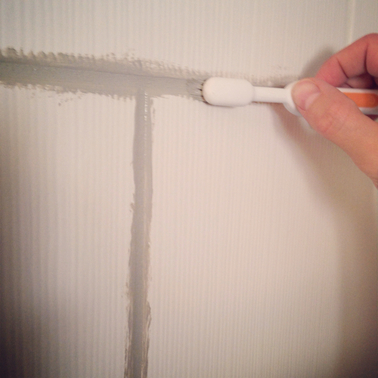
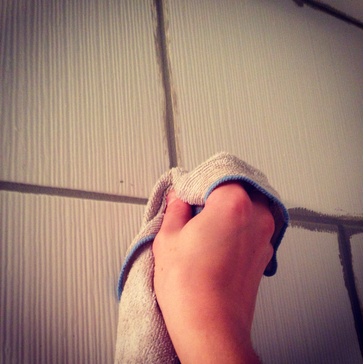
it's actually become one of my favourite rooms in the house. Playing it safe with design can actually keep you from really expressing your true style, so I challenge you to break any design rule you like. I'd love to see your before and afters, and get your opinion on how it turned out for you. Do you love what you did? Happy Rule Breaking! xo Jena The title says it all. This post is how to paint grout. It's really quite easy actually. I'll take you on a photographic journey of the two steps of painting grout. Basically went with a wax on, wax off approach. Just that simple! But first, some background...
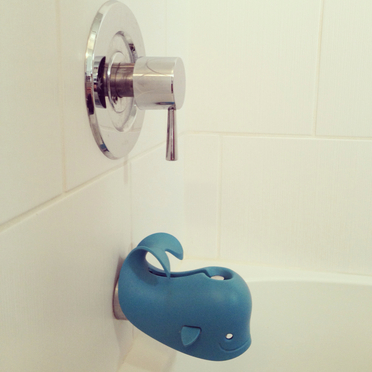
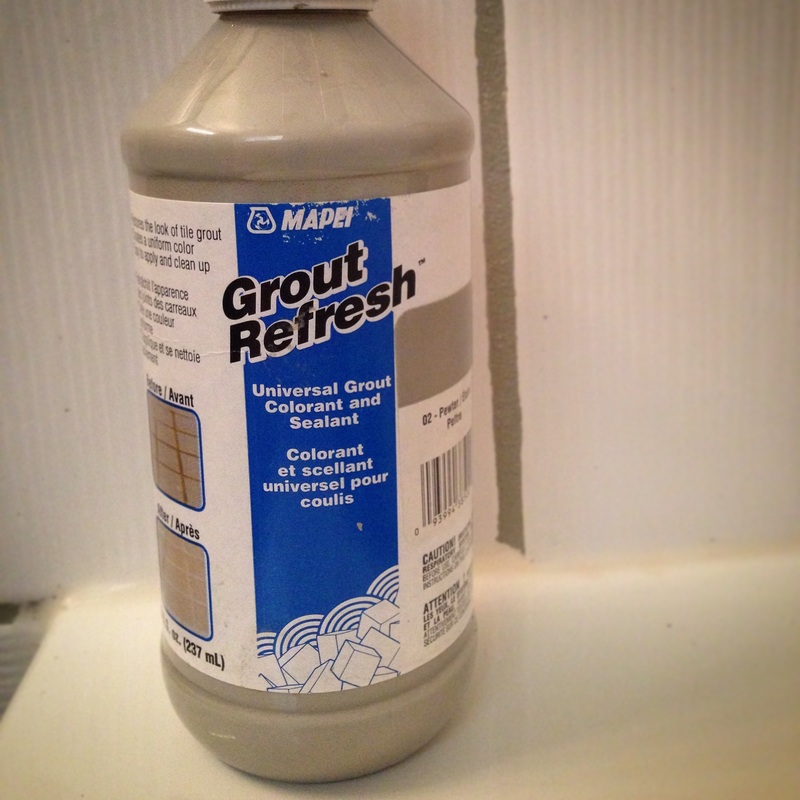
Anyways, back to the bathroom tile, it's as easy as slathering on this grout paint with a toothbrush. Don't worry about how much gets on the tile, unless it's a porous time, then maybe just try to get the right grout! But if it's porcelain or glass, have no fear- it's like oil and water. It just wipes off.
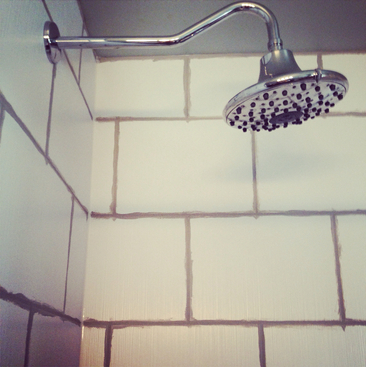
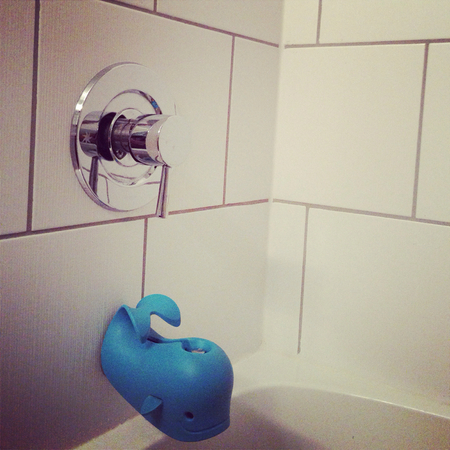
I am so happy with how it turned out!
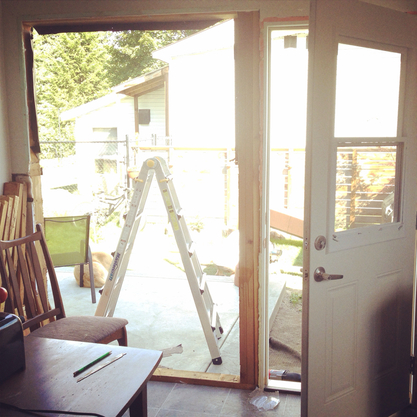
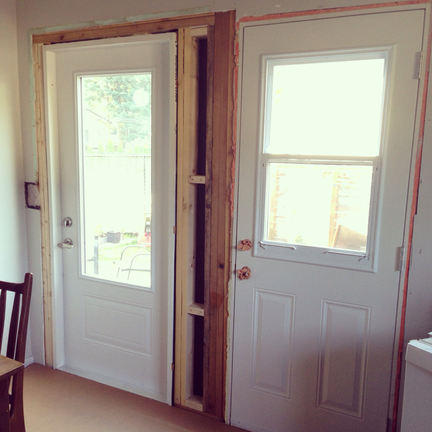
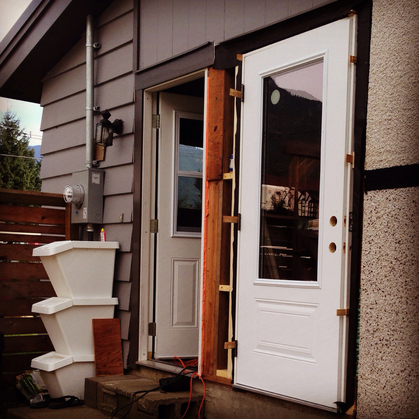
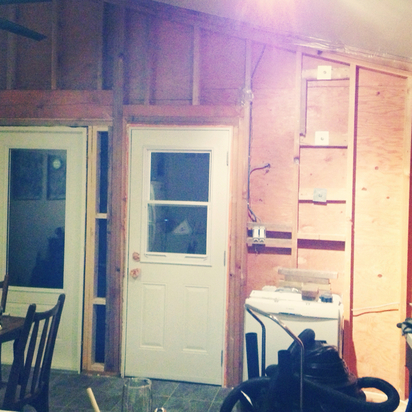
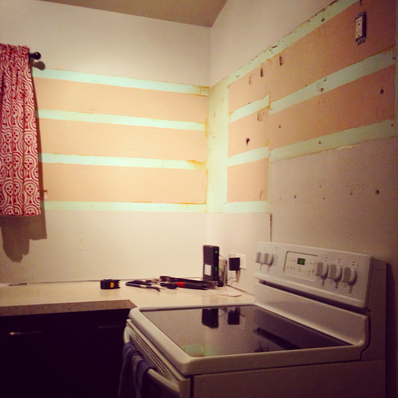
And it was such an easy little project, with awesome results. Have you ever tried to paint your grout? Is that something you would have even thought to do? It's such a great option, especially to freshen up old, yucky grout. Happy Grout Painting! xo Jena Every day our kitchen is coming together more and more. It's been awesome! We were kind of at a standstill as we needed the door in before we could really progress. So we made a day trip to Calgary to pick up the door (and countertops!!), which meant we could start ripping down the wall guts (drywall, vapour barrier and insulation) as we were a step closer to being able to redo the walls now that the door was where it should be. So the door got installed and for a day we shall have "French doors".... Sort of! The new door is an outswing and the other one is an inswing, and our neighbours are probably scratching their heads wondering what we are doing with two mismatched doors! But it's day by day here. That inswing door will soon be gone, and we can begin patching the hole in the wall and insulate. We went with Roxul insulation, since we have 2x4 exterior walls, and we can get R14 out of that stuff. Definitely better than the 2" itchy insulation we had! When you do it all yourself, it feels like much more of an accomplishment. At the end of the day, you can look back and see what all you've done!
The time has quickly come to pick up the countertops and door, so we are really getting ready to say: "Out with the old, and in with the new!"
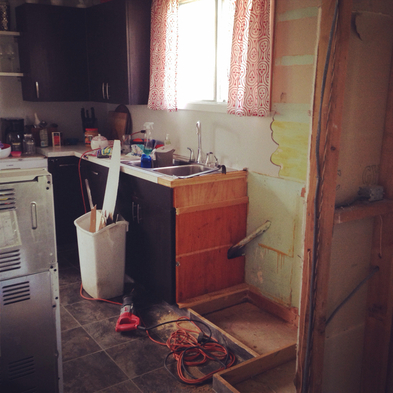
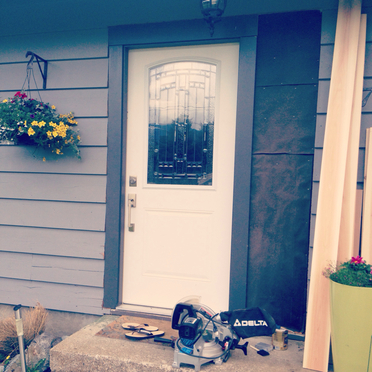
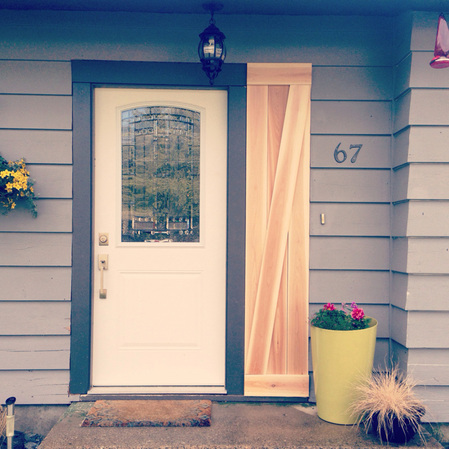
The cabinets are all built, except for one that was too big to build downstairs (then bring upstairs) and the one that we need to exchange at IKEA. For those who missed it in a previous post... A 24" pantry somehow turned into a 30" pantry- we need the 24" one. That being said, we are definitely at the messy part of the kitchen renovation! Happy Demolition Days! Xo Jena I've got the perennials blooming, and the annuals planted; the lawn got aerated and spring has officially been kicked off by the first camping trip of May long. Along with the sun comes all the projects that didn't get finished last summer. Like after our door got installed, we had a black void beside the door where a sidelite had been. That black void had to go. Today.
The angled cut was tricky, and I had saved the really nice piece of wood for that one, so I held my breath when I let Adam chop that one. Turned out pretty good!
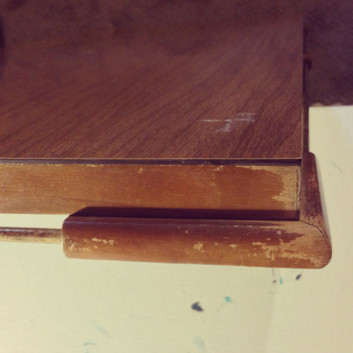
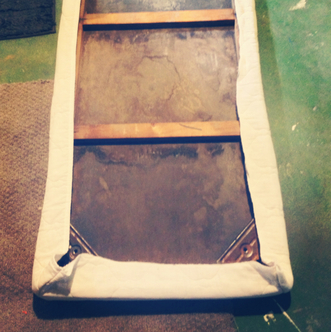
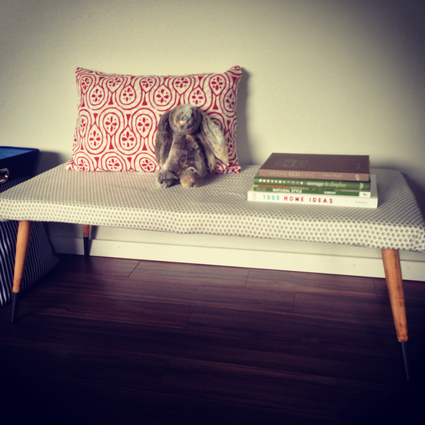
All in all, it was a simple project that just needed to get done. We had talked about putting rock around the entrance, which would have looked beautiful, but that option would have had to wait. I needed a project today, and that was what got attacked. Sometimes, it's the little things that just finish it all off perfectly. Happy DIY-ing! Xo Jena I inherited this coffee table from my Oma and Opa, and while it was in rough shape, I couldn't handle see it going to the dump. I decided to give it new life and new purpose. It would become a bench seat.
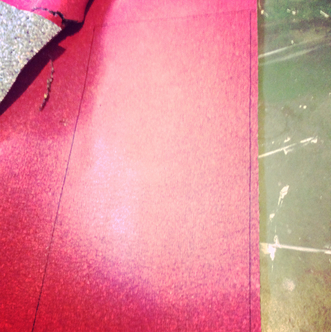
I missed a couple photos of the next step so bare with me. I then took a twin fitted sheet and stapled the crap out of it to the underside of the table, covering the mattress pad and underlay. If I were to do this over again, I would use a much thicker fabric. But that would mean I will have to un-staple the crap out of this. So for now, it'll do. My boy loves standing on it when we play fussball. So if he loves it, so do I. Happy Trial and Error!
xo Jena My favourite thing about the new year is the fact that it's just that- a new year; a clean slate. It's mostly in my head, but just the chance to mentally hit reset is kind of a nice thing to do. Everyone loves setting those New Years resolutions! And promptly breaking them.
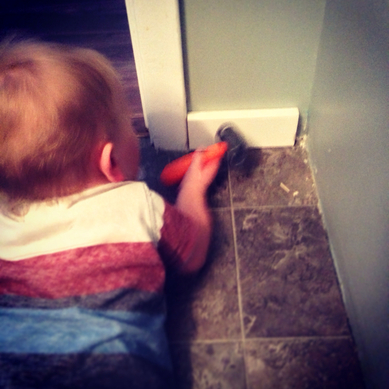
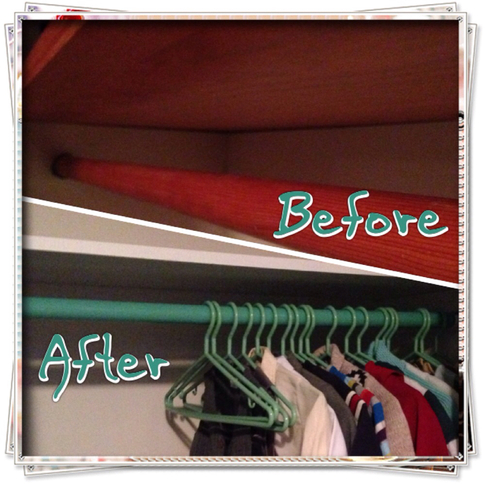
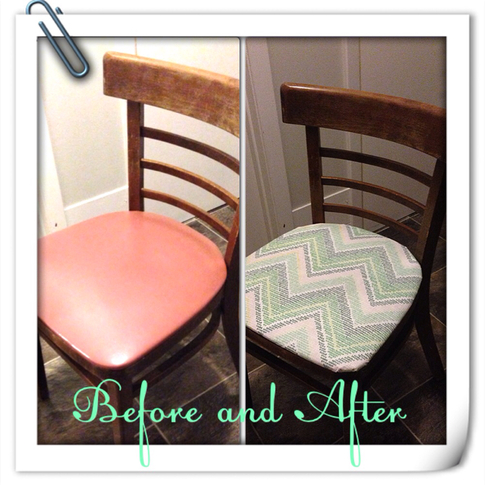
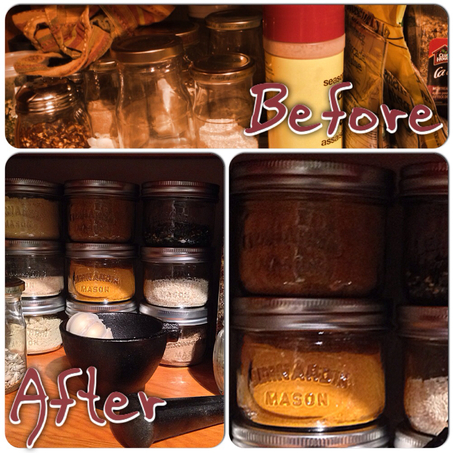
Resolutions or not, we have started back on the home improvement train since the new year. I've finished a few projects that have been somewhat un-blog worthy, but they have now been crossed off the never ending list. For instance, our upstairs bathroom now has baseboards. Thanks to my little helper! A few projects that have been happening? I have some little ones, like a quick closet make over, a chair make over, the spice cabinet make over. To name a few...
I scored these restaurant chairs for the office at my work, and with an outdoor table cloth, these pink beauties got a fun update. And they are actually pretty cute! And cute goes a long way when you work at a sawmill.... I had been wanting to do this one for a long time. I had originally been reusing old glass jars for our spices, which worked okay, but they didn't stack well. So I went out and got a case of the smaller sized mason jars. The spice cupboard was absolutely packed before, and even though I have the same amount of spices in there, now I can see every spice I need. It's so nice and organized, I could probably double the amount of what I had stuffed in there now. As for the big ones, we have a few in the works. We are heading out of town this weekend to finally look at the fireplace we want. Online shopping just doesn't always cut it for me! And then the downstairs bathroom. Then the laundry room. Then a deck. And last, but certainly not least, the kitchen. Ooooh boy! Looks like this year is going to be another busy one!
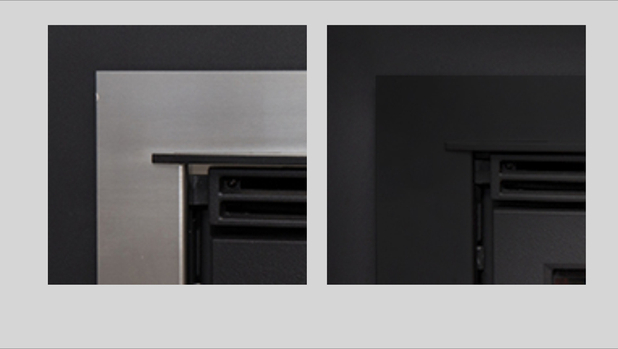
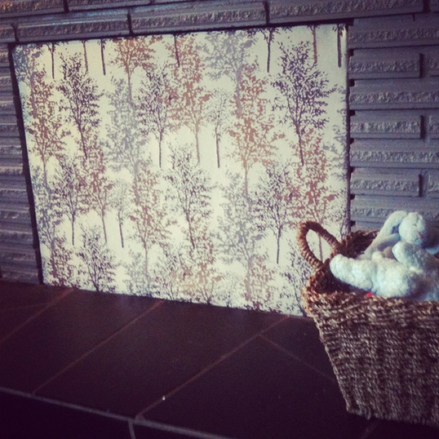
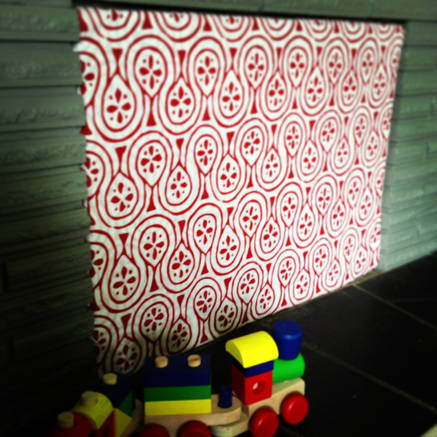
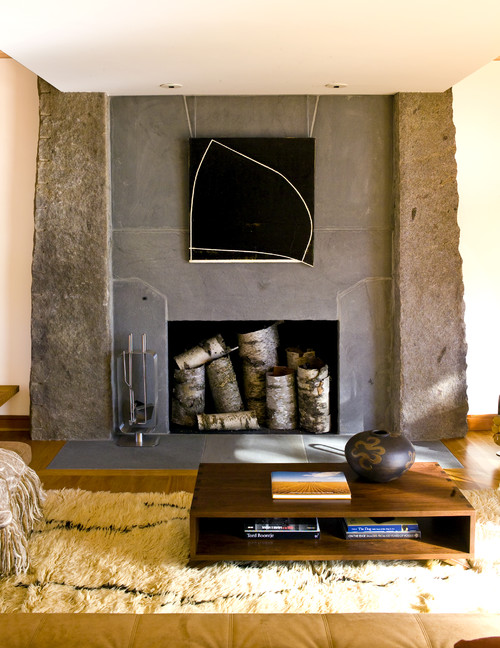
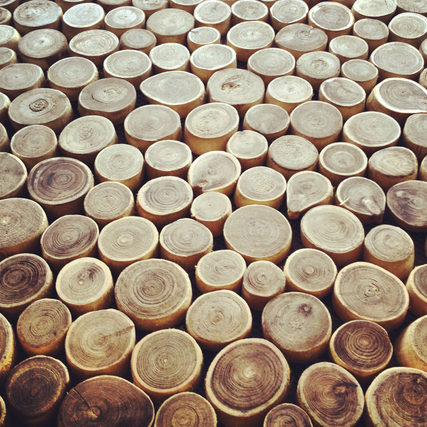
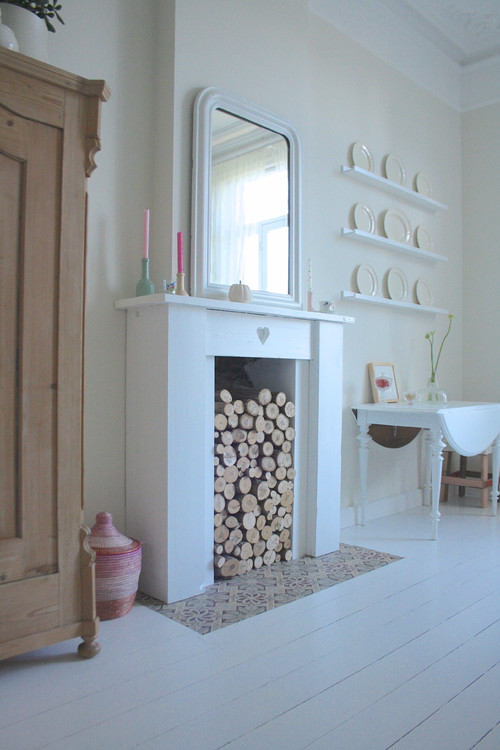
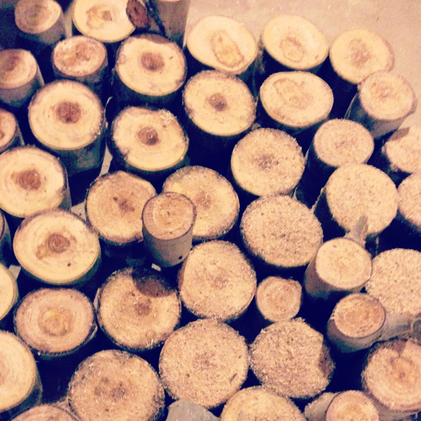
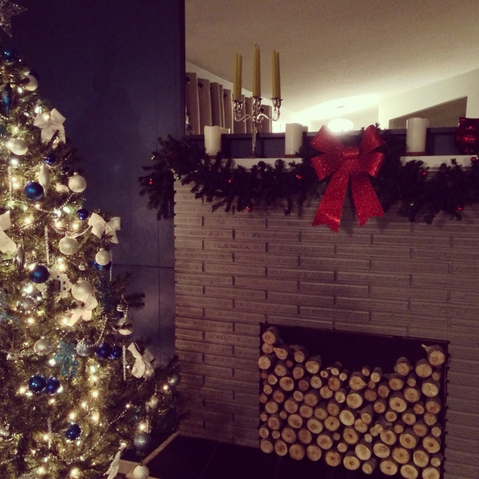
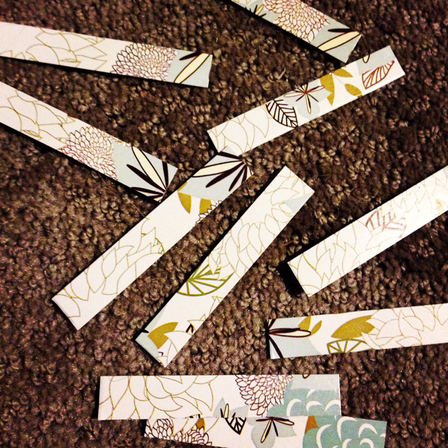
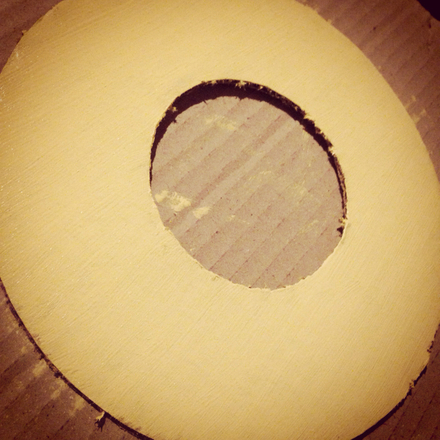
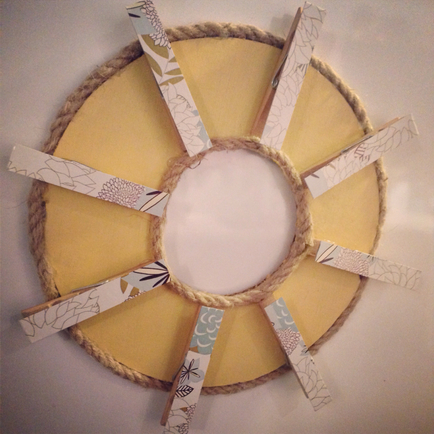
Happy New Years! Xo Jena We've wanted a wood fireplace since we got our house. We weren't planning on getting one right away, but after one winter of our heating bills, we figured it would be worth our while to get one, as it would basically pay for itself in one season of heat. Finally we found one that we liked- a modern wood insert. Of course, it was so new that it wasn't even made yet. That's how cutting edge we roll these days. We kept getting told it would be ready Novemeber, then not until December, then not until Spring 2014. Upon closer inspection, we realized that the one we were waiting for wouldn't even fit in our current fireplace! And that the smaller version of the same fireplace insert was available and has been for a while. Lame. Now, I'm not even sure where we are at on getting this, but we ended up buying this sweet infrared heater that has been lovely having, and I don't feel so rushed into getting the insert after all this confusion. Adam and I have yet to agree on the optional stainless steel surround or the plain black... What do you think? I'm pretty set on the stainless, while Adam is set on the black. Anyways, as I don't feel a rush anymore, I decided to switch up our current fireplace draft blocker. Unfortunately, we still needed the draft blocker, so it progressed from having this... I also was originally inspired by a fireplace I had seen on Houzz, where they had stacked a bunch of wood into the fireplace. If you can't burn it, at least pretend like you are ready to! I got really inspired by this door mat I saw in Canmore a few months back. As awesome as it looks, it seemed impractical as a door mat, but it would be awesome on our fireplace! Since we still needed to block the draft from our fireplace, my day dreams progressed into something a little more like this... So I grabbed the large sticks that were waiting to become a stair rail, and started chopping. I guess we need to find another stick for the handrail project now... Then came the fun part of screwing in every single piece of wood to the plywood. I don't know if you caught my sarcasm on that one, but that wasn't actually that fun. Of course, I ran out of wood before I could completely cover the plywood, but I figured since it's winter now and we have about a foot or two of snow already, it may be a while before I can find a branch. So bear with me as I unveil the mostly finished product! All in all, it added a really nice touch to the room, especially now that we've decorated for Christmas. I love this season! Jena xo It has been a little while since I've gotten to sit down and do a craft. Not going to lie, I've missed it. There is nothing more satisfying that burning your fingers on the hot glue gun and having something to show for it. This one is for my mum, who still acts like she appreciates her child's art work. I love you, Mum!
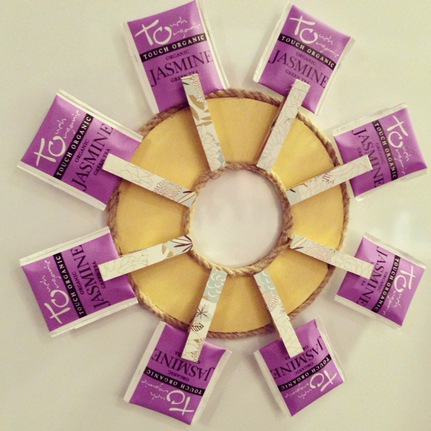
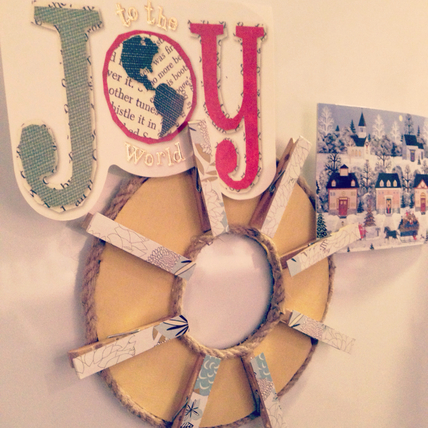
This is where I'm not sure what to do with it, which is why I'm glad I made it for my mum. She gets to decide. Cardholder? Picture holder? Tea stash?
The possibilities are endless! What would you use it as? Happy Crafting! Jena xo |
Ants on a BlogBy Jena Keenan Categories
All
Archives
November 2017
|

