|
Renovations are not always fun and easy. They usually are pretty stressful and somewhat terrifying, in case you were wondering. From experience, I've come up with a list of five ways to actually enjoy renovations. Or at least ways to renovate and avoid divorce...
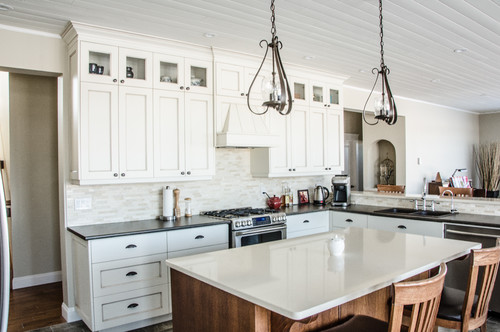
2. Communicate AND Compromise Not everyone sees eye to eye during renovations. Be prepared for this. She wants the white feminine kitchen, he wants a dark masculine kitchen. Design styles differ, for sure. This is where it is great to have outside advice. Between communicating what you want and compromising with what they want, this is super important to a happy renovation. If you are absolutely set on a design or finish, be prepared to explain why. And be prepared to listen to their side. And together, figure out a compromise. You want white, he wants dark. Why not compromise and have dark on the bottom and white on top. Or a dark island (with a light counter) and white cabinets (with a dark counter) Contrast is a great design trick, and contrast goes hand in hand with compromise. Below is a great example! 3. Don't Tackle it ALL Between budget stresses and the lack of amenities, I recommend against biting off more than you can chew, especially if you are living in the house. If all your bathrooms suck, maybe try renovating just one at a time. Everyone needs a working toilet and shower. When we renovated our kitchen, we didn't have a sink or a dishwasher, but at least we still had a working tub! Don't make your house uninhabitable while renovating. Just don't.
5. Know That It Will Be Worth It Remembering that it will all be worth it in the end is hopefully enough for you to endure the renovation. Patience is a virtue, after all. Getting stressed out and worked up only makes things worse, so just breathe, have a coffee break and have fun! If you aren't that excited about the renovations, ask questions and try to learn something to make it a more positive experience. Remember to laugh and be encouraging to everyone involved in the renovation. If you are encouraging, rather than negative, it makes the whole project more enjoyable- for everyone. Contractors or spouses will always react more positively towards someone who isn't freaking out and being unreasonable. So there you have it! Those are my 5 recommendations on how to actually enjoy a renovation. Enjoy your renovations, and enjoy your Valentines! Because that's what it's all about: LOVE. Happy homes make happy families. xo Jena Please note, however, that I actually am one of those people that really enjoys renovating anyways,
2 Comments
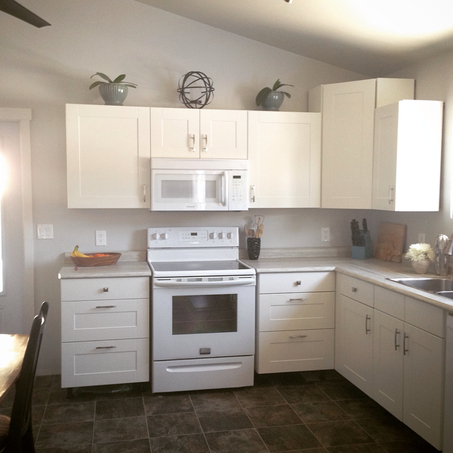
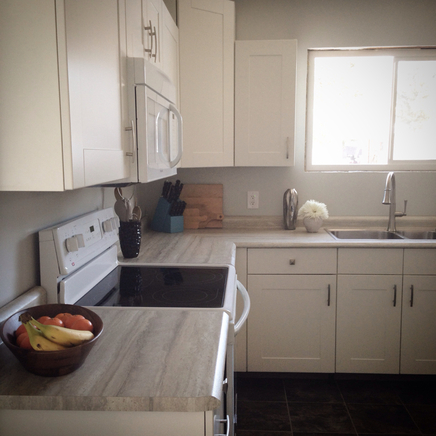
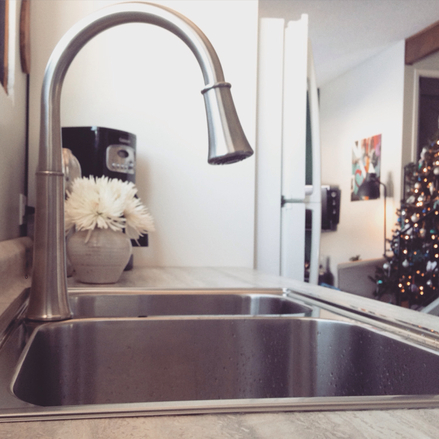
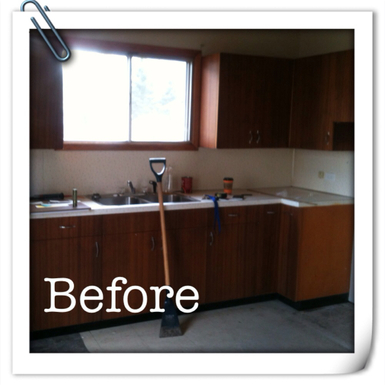
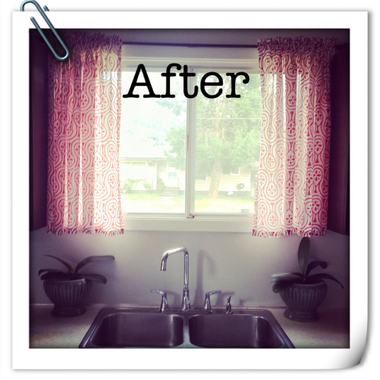
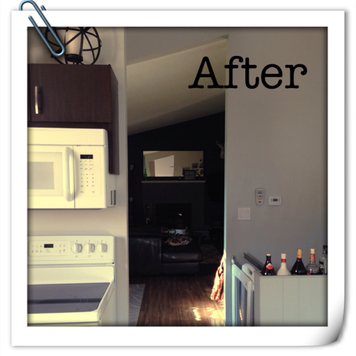
After a ton of hard work, and two months of living without a kitchen, it is {mostly} DONE! I'm really happy with how it turned out. It was a lot of hard work, and it wasn't always fun living through a renovation, but it sure makes you appreciate the completed end result!
Life is so busy sometimes, and there will always be little jobs to do. I am still excited to get the little projects done, so it will feel really complete, but I feel lucky to have a kitchen (and a life) again! What do you think?
Happy Kitchen Appreciation Day! xo Jena
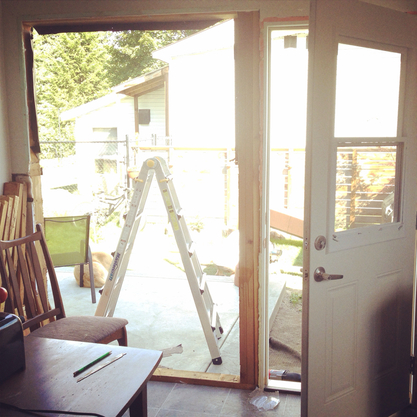
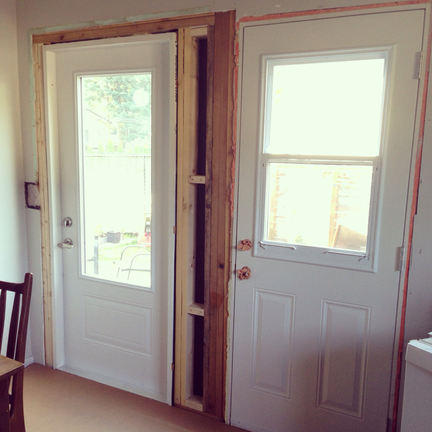
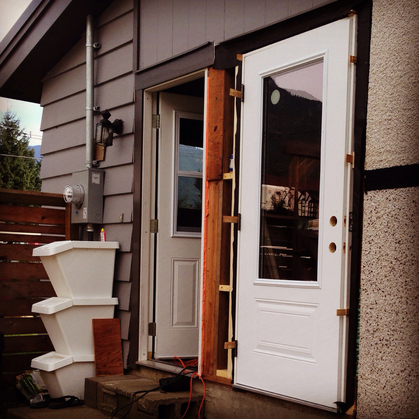
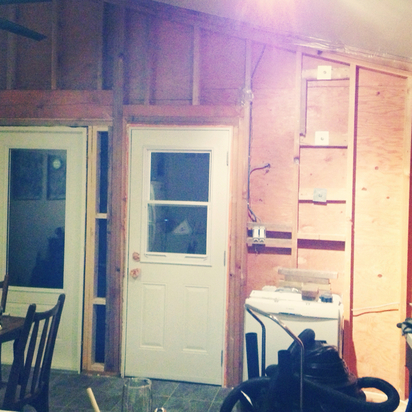
Every day our kitchen is coming together more and more. It's been awesome! We were kind of at a standstill as we needed the door in before we could really progress. So we made a day trip to Calgary to pick up the door (and countertops!!), which meant we could start ripping down the wall guts (drywall, vapour barrier and insulation) as we were a step closer to being able to redo the walls now that the door was where it should be. So the door got installed and for a day we shall have "French doors".... Sort of! The new door is an outswing and the other one is an inswing, and our neighbours are probably scratching their heads wondering what we are doing with two mismatched doors! But it's day by day here. That inswing door will soon be gone, and we can begin patching the hole in the wall and insulate. We went with Roxul insulation, since we have 2x4 exterior walls, and we can get R14 out of that stuff. Definitely better than the 2" itchy insulation we had! When you do it all yourself, it feels like much more of an accomplishment. At the end of the day, you can look back and see what all you've done!
The time has quickly come to pick up the countertops and door, so we are really getting ready to say: "Out with the old, and in with the new!"
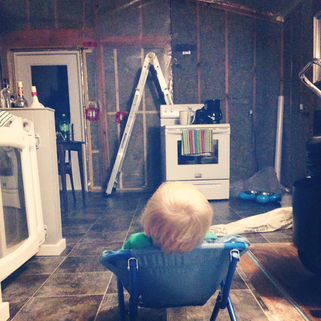
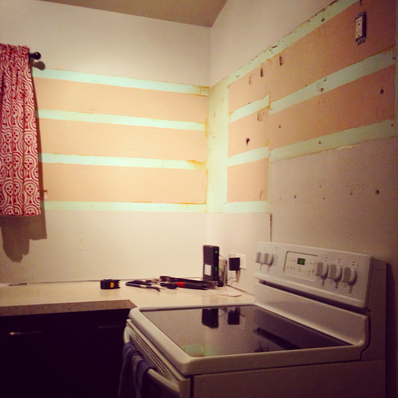
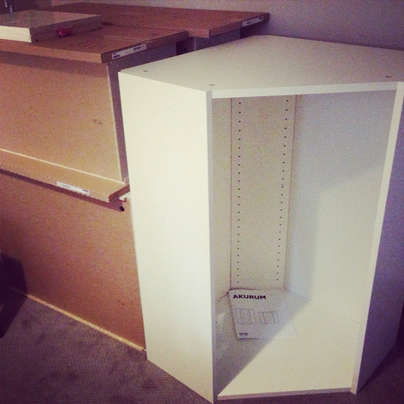
The cabinets are all built, except for one that was too big to build downstairs (then bring upstairs) and the one that we need to exchange at IKEA. For those who missed it in a previous post... A 24" pantry somehow turned into a 30" pantry- we need the 24" one. That being said, we are definitely at the messy part of the kitchen renovation! Happy Demolition Days! Xo Jena
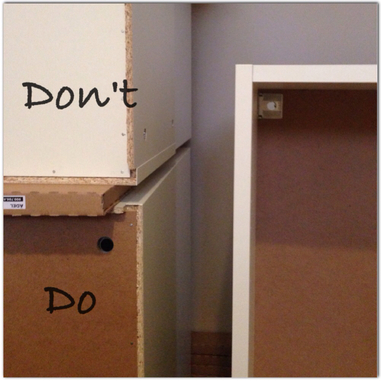
When I started to build a few of the cabinets, I was pumped. Pretty easy to build! They gave you all the pieces to every cabinet in a nice little bag, and I was using every single nail that IKEA supplied you with to secure those backings on. Don't want the cabinets to be flimsy! It was going really smoothly until I noticed that I nailed the cabinet backing on the wrong way on two of the cabinets. Then I remembered. I had used every single nail. You definitely don't want to pull out 25 tiny nails from 1/4" backing. Heed my warning!
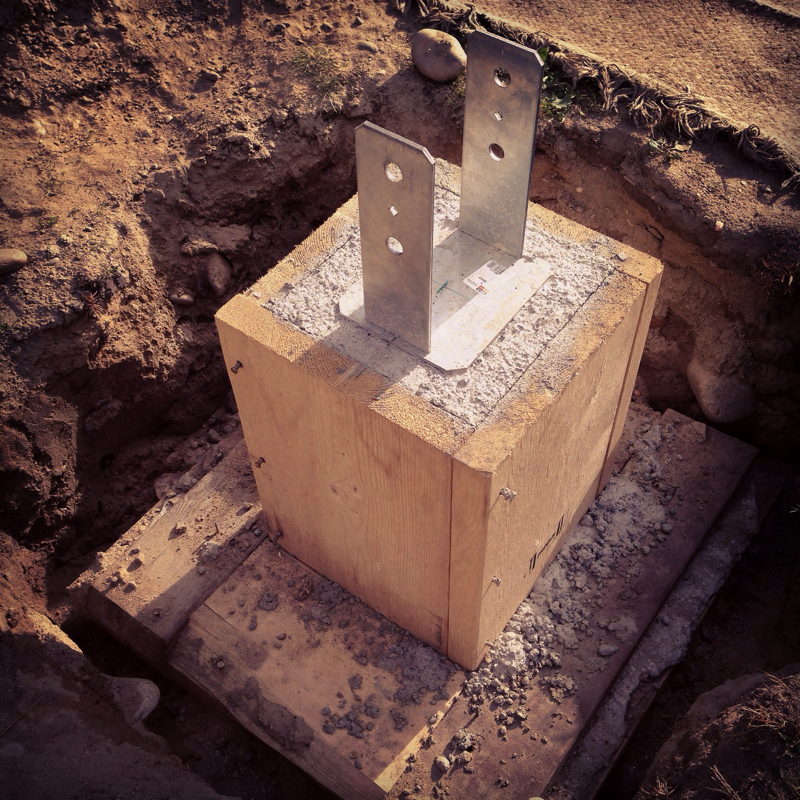
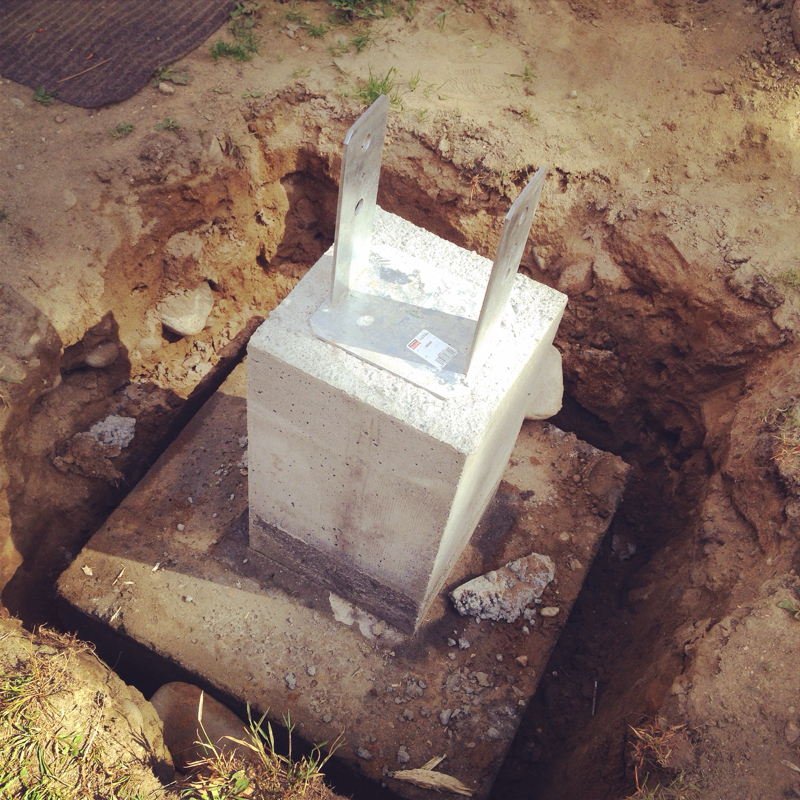
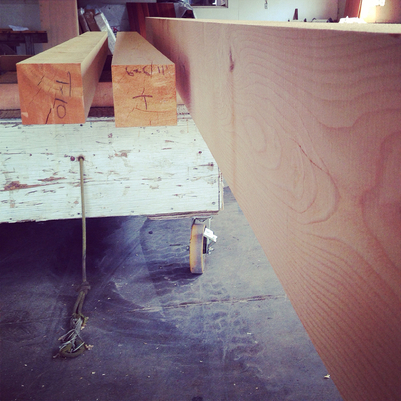
Why wouldn't you buy a new kitchen and build a deck at the same time? Whatever anyone's advice would be against that, we've definitely ignored it. Because that's just how we roll. Since the deck is basically going to be an extension of our kitchen, why not? We might as well go hard, and get it all done, while we're at it, and while the tools are all out. The footings have been poured, and the wood is ready to go.
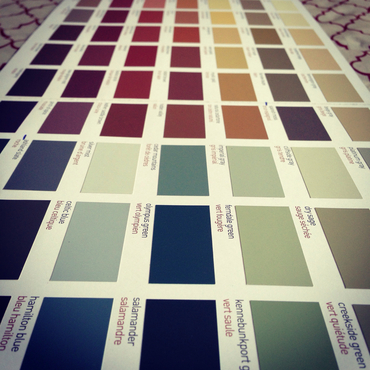
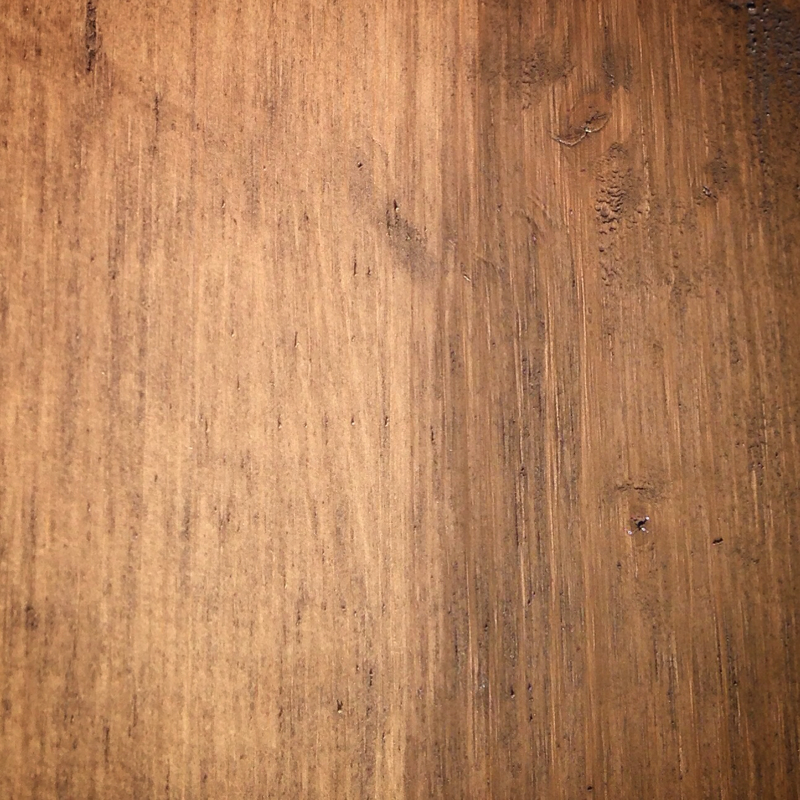
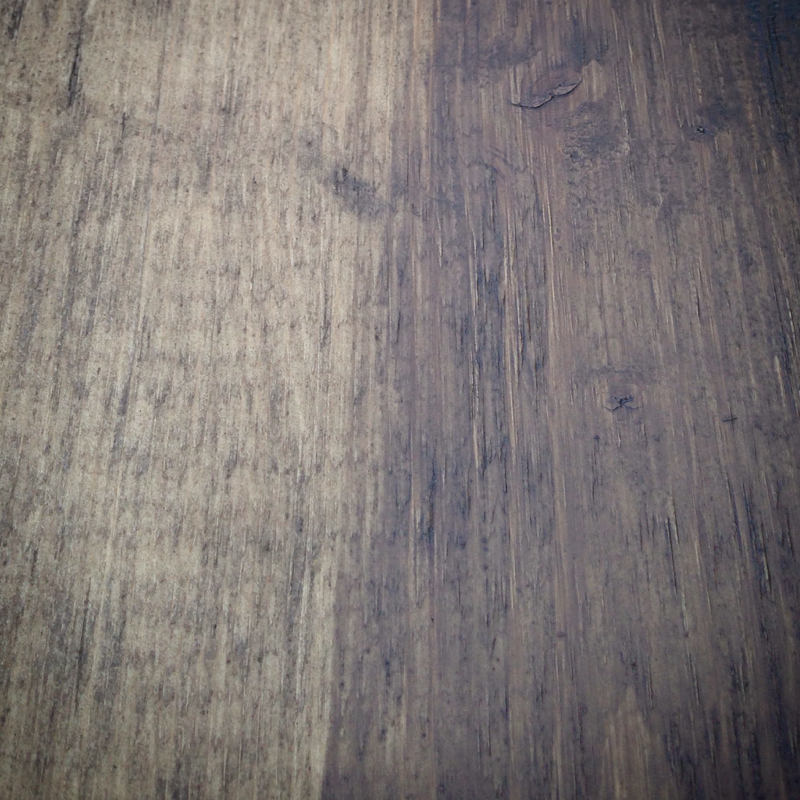
Picking the stain was actually tricky for me. Paint is one thing, but stain is definitely another. First of all, the stain swatches are nothing like the actual stain colour. Second of all, depending on the species of wood, the colours on the wood can be very different. To help narrow it down, the Benjamin Moore colour collection for decks and siding comes with the solid base colours for the stain. I picked out a few colours that would go with our exterior paint on the house. Then I really narrowed it down to one colour and bought a test can. As soon as I saw it on the wooden stir stick, I was pretty convinced that was the one. Even though I was pretty convinced I loved the stain colour that I picked (Benjamin Moore Arborcoat in Spanish Moss with a semi-transparent finish), I still wanted to see what it looked like on a piece of wood against our house. That, and I had to okay it with my other half before I really committed. I took a few pictures of the stain because Google seemed to lack images of "Benjamin Moore Spanish Moss exterior stain in sun and in shade". You're welcome. Finally, I held the stained wood up against our siding and trim colours: Benjamin Moore in Iron Mountain (trim) and Wall Street(siding). My vote? YUP!
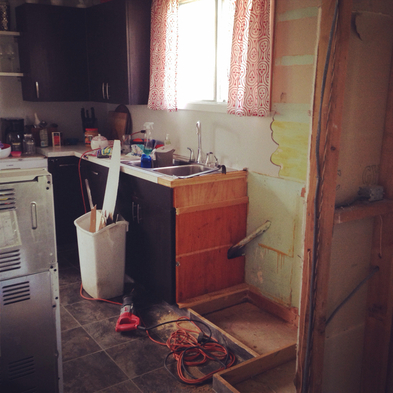
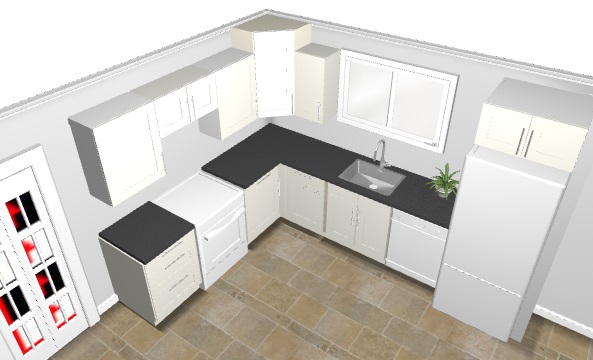
Happy Staining! xo Jena My heart may have skipped a beat when I got the e-mail. The IKEA kitchen event was on again! Who wouldn't want IKEA gift cards back for purchasing a kitchen?? I love IKEA. Always have, always will. After months of debating on how we'd like to do our kitchen, a few kitchen events had come and gone, and we just weren't ready to commit. Until this time. We had perfected our plan, and saved our nickles and dimes, and waited... Just to give you a recap of our kitchen's journey this far: our before picture. No appliances, leaky taps, dingy (but solid wood) cabinets, odd layout, and a door separating the kitchen from the rest of the house. For someone who loves open concept, it was rough. There were still a few things that bothered me, though. Like these crazy lazy susan's that threatened to chop my fingers off if I got a little carried away. Don't ask... That, and the missing countertop over the dishwasher and the side panel beside the dishwasher that may have fell on our son once or five times. All in all, it was a good kitchen, and I do have hopes of salvaging the cabinets to use in my laundry room, but I am pretty excited for the new open concept design. Walls are gonna be knocked down, doors moved, and it's just going to be awesome. I know it.
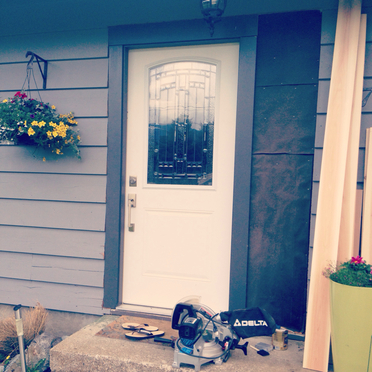
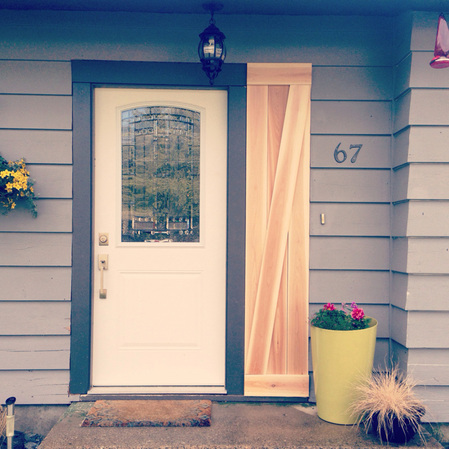
I've got the perennials blooming, and the annuals planted; the lawn got aerated and spring has officially been kicked off by the first camping trip of May long. Along with the sun comes all the projects that didn't get finished last summer. Like after our door got installed, we had a black void beside the door where a sidelite had been. That black void had to go. Today.
The angled cut was tricky, and I had saved the really nice piece of wood for that one, so I held my breath when I let Adam chop that one. Turned out pretty good!
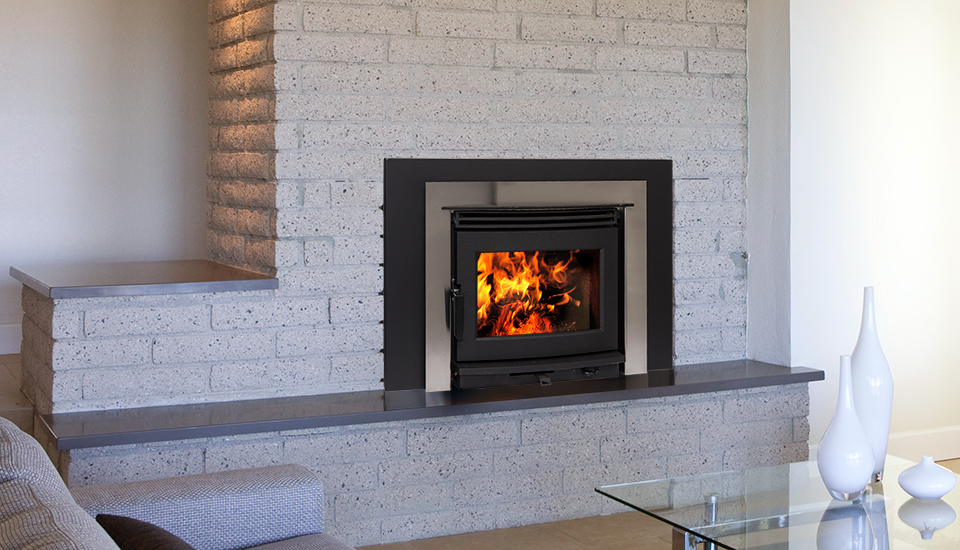
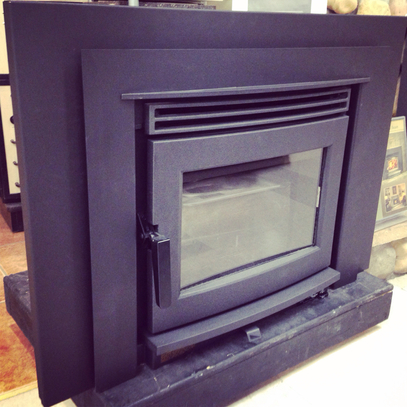
All in all, it was a simple project that just needed to get done. We had talked about putting rock around the entrance, which would have looked beautiful, but that option would have had to wait. I needed a project today, and that was what got attacked. Sometimes, it's the little things that just finish it all off perfectly. Happy DIY-ing! Xo Jena It felt like we had a long streak only to be broken by some more renovations. It started out as finishing the basement bathroom and then it turned into replacing the fireplace our living room and everything around it. Apparently, we are back at it, in full swing! We had picked out a fireplace a while ago, but we weren't sure if we would go with the black surround or the stainless. I thought the black surround would be a little too much black, and was cheering for the stainless surround, while Adam was all for the black surround.
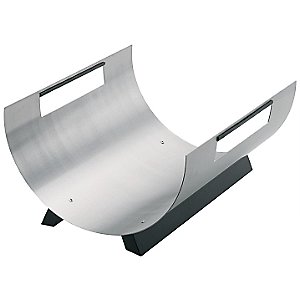
Instead of the stainless surround, I could deal with the fireplace accessories being stainless. Much more lickable.
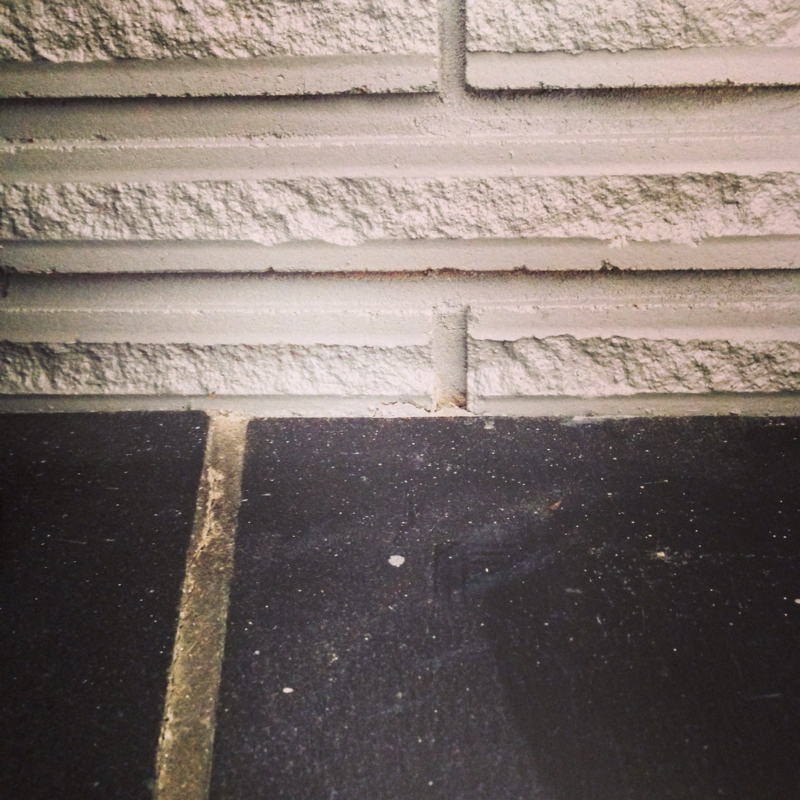
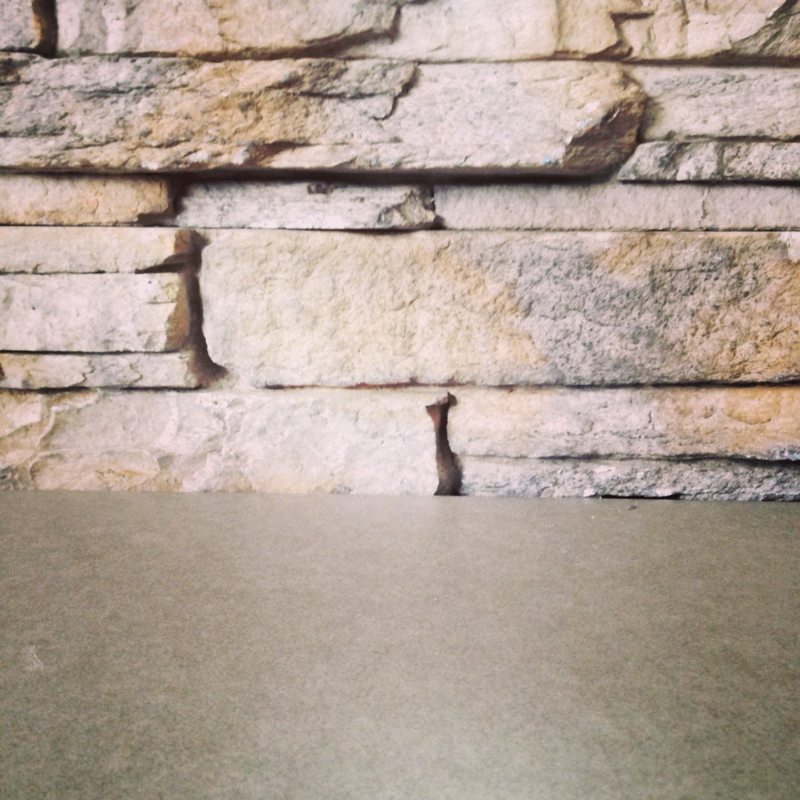
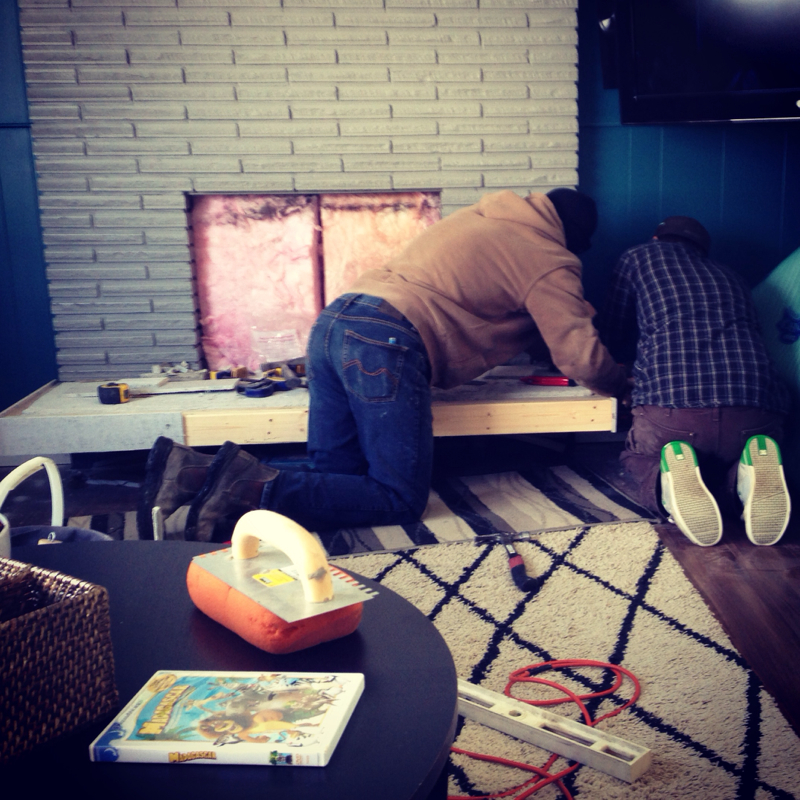
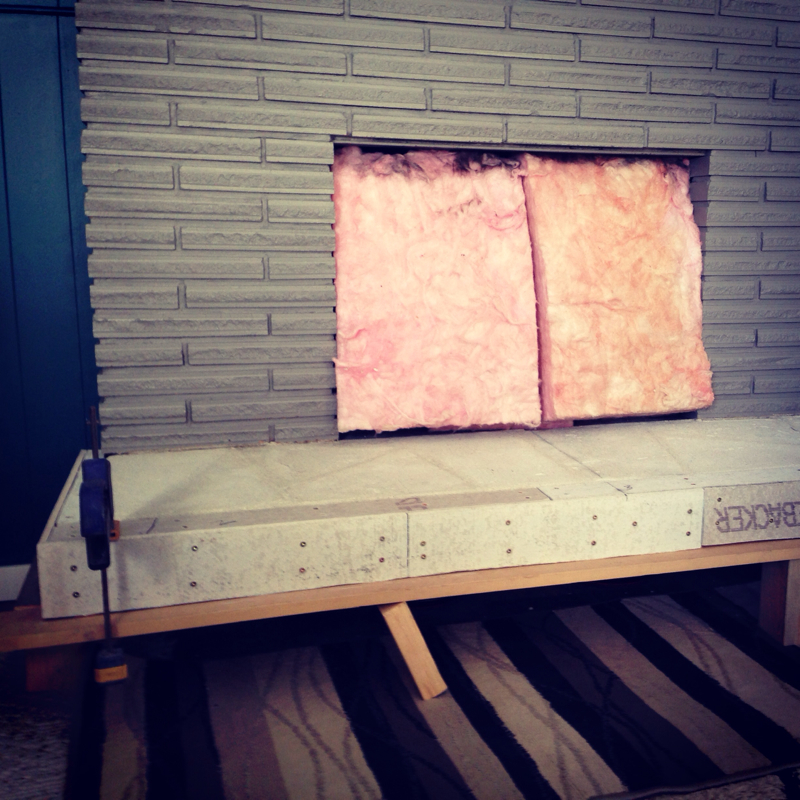
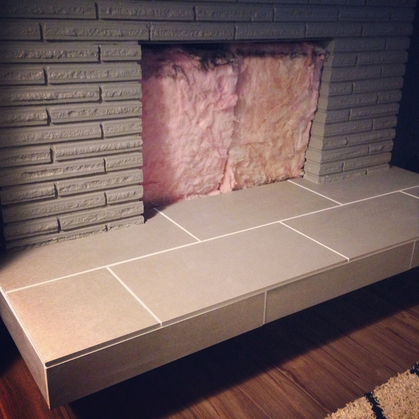
So with that decided and ordered, we had to replace the sexy black tile that wasn't great but wasn't bad enough to piss me off every time I looked at it. Too bad we had to extend our hearth to comply with current building standards, and were forced to delete the black tiles. So this is what we had, and what it will become. Here are the guys, hard at work building out the hearth and getting ready to tile it. They added two- 2x4s on the front to get to the proper size hearth, and one- 2x4 on the side so the rock we will be putting on won't protrude over the hearth, That would just look odd. Since it was a concrete floating hearth, it was pretty simple- just drill into the concrete and screw on the 2x4s and concrete board. Then again, I didn't do it, so there was probably a lot more that went into that. I'll just leave all that up to the professionals. I know there were issues cutting the concrete board, as it heated up the saw so much, and cutting tiles just seems like something to leave to someone who knows what they are doing. Maybe one day I will attempt a tile DIY project. But it will be on something that can be easily redone if it needs it!
In addition to my joy that it is finally coming together, I just can't wait to curl up in front of a blazing fire with my lovely family and be warm and cozy. Thursday can't come soon enough! Stay Warm! xo Jena |
Ants on a BlogBy Jena Keenan Categories
All
Archives
November 2017
|

