|
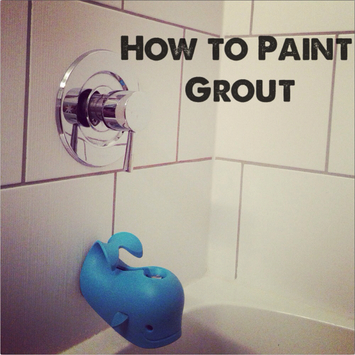
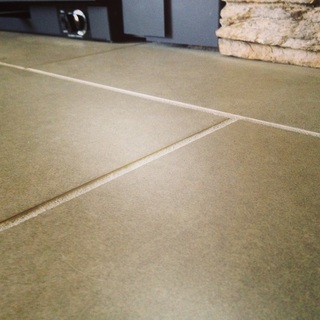
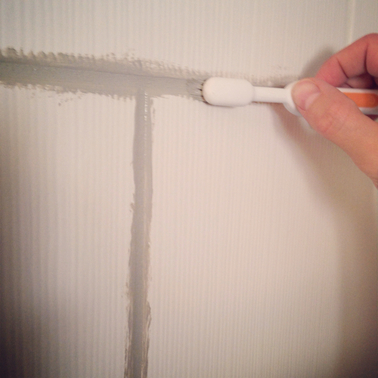
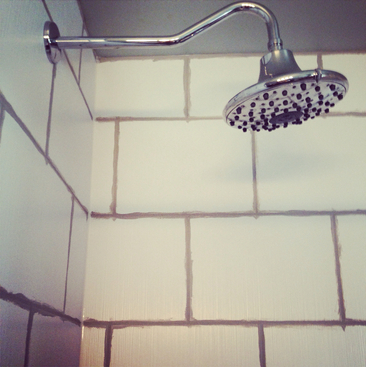
The title says it all. This post is how to paint grout. It's really quite easy actually. I'll take you on a photographic journey of the two steps of painting grout. Basically went with a wax on, wax off approach. Just that simple! But first, some background...
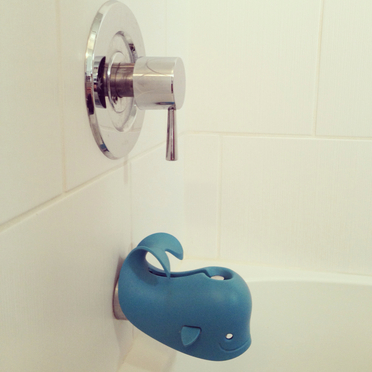
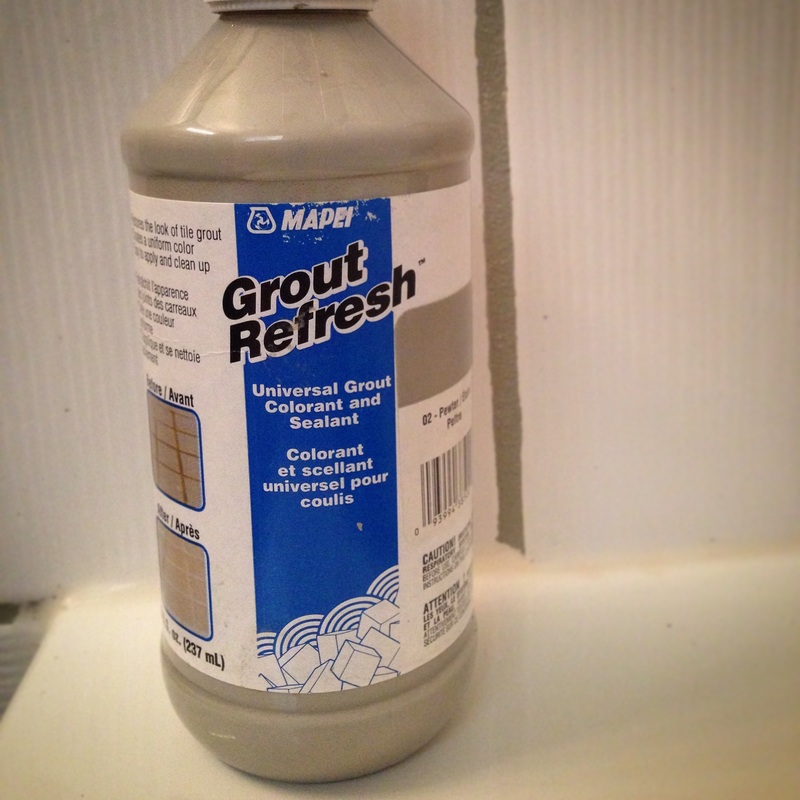
Anyways, back to the bathroom tile, it's as easy as slathering on this grout paint with a toothbrush. Don't worry about how much gets on the tile, unless it's a porous time, then maybe just try to get the right grout! But if it's porcelain or glass, have no fear- it's like oil and water. It just wipes off.
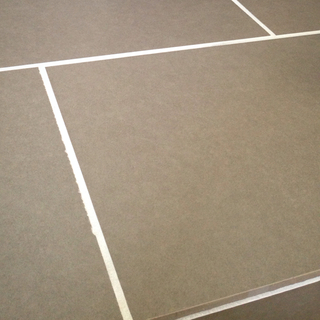
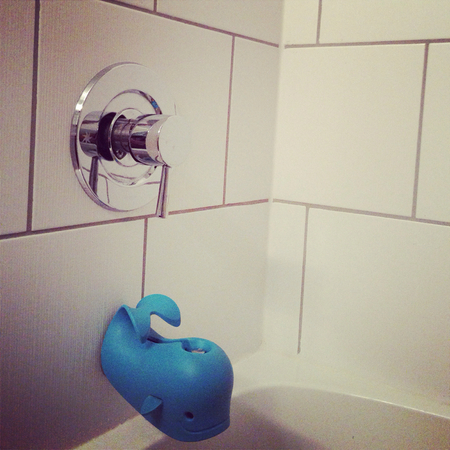
I am so happy with how it turned out!
And it was such an easy little project, with awesome results. Have you ever tried to paint your grout? Is that something you would have even thought to do? It's such a great option, especially to freshen up old, yucky grout. Happy Grout Painting! xo Jena
0 Comments
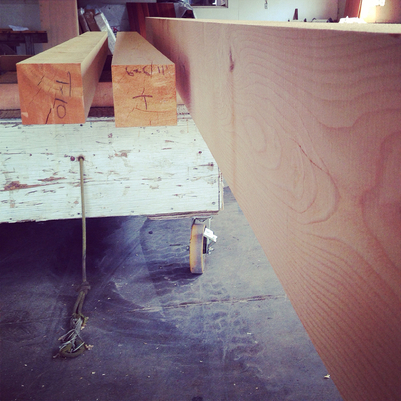
Why wouldn't you buy a new kitchen and build a deck at the same time? Whatever anyone's advice would be against that, we've definitely ignored it. Because that's just how we roll. Since the deck is basically going to be an extension of our kitchen, why not? We might as well go hard, and get it all done, while we're at it, and while the tools are all out. The footings have been poured, and the wood is ready to go.
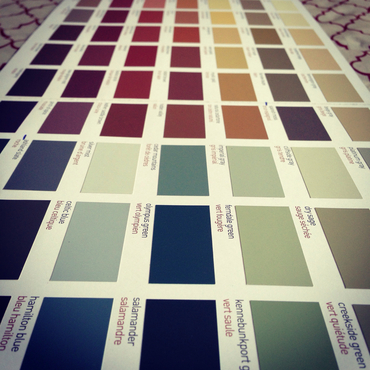
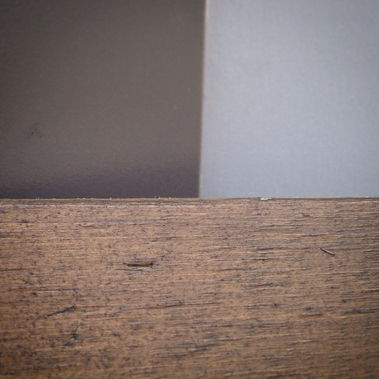
Picking the stain was actually tricky for me. Paint is one thing, but stain is definitely another. First of all, the stain swatches are nothing like the actual stain colour. Second of all, depending on the species of wood, the colours on the wood can be very different. To help narrow it down, the Benjamin Moore colour collection for decks and siding comes with the solid base colours for the stain. I picked out a few colours that would go with our exterior paint on the house. Then I really narrowed it down to one colour and bought a test can. As soon as I saw it on the wooden stir stick, I was pretty convinced that was the one. Even though I was pretty convinced I loved the stain colour that I picked (Benjamin Moore Arborcoat in Spanish Moss with a semi-transparent finish), I still wanted to see what it looked like on a piece of wood against our house. That, and I had to okay it with my other half before I really committed. I took a few pictures of the stain because Google seemed to lack images of "Benjamin Moore Spanish Moss exterior stain in sun and in shade". You're welcome. Finally, I held the stained wood up against our siding and trim colours: Benjamin Moore in Iron Mountain (trim) and Wall Street(siding). My vote? YUP!
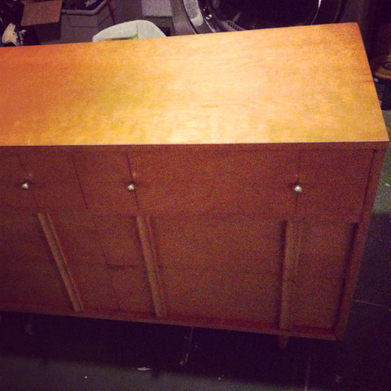
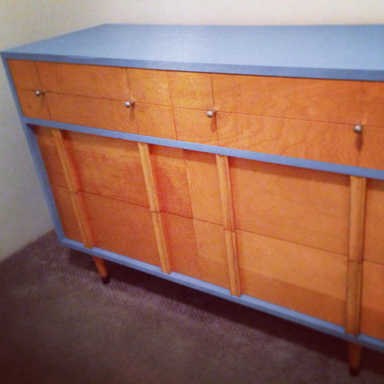
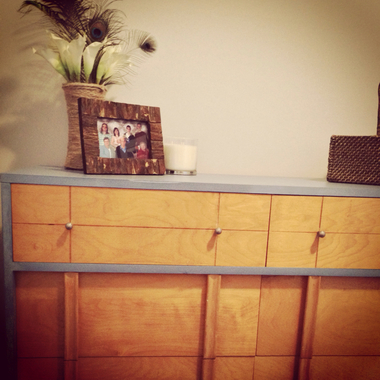
Happy Staining! xo Jena I inherited this dresser; it was my mum's old dresser when she was growing up. I was drawn to it's mid century modern style, and it was in great shape. I knew I could jazz it up a bit.
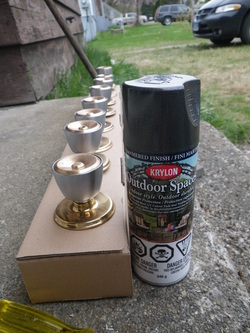
I also spray painted the brassy bottoms of the legs, in Rustoleum Hammered Metal spray paint in Dark Bronze. As always.
On my last spray painting project, I definitely over did it on the thickness of paint and it turned into a crackly, textured project. I was going to try to redeem myself, and prove to myself that I am not the worst spray painter in the world. But then I tripped over the matching lamp and smashed it. Don't ask... It was a pretty simple project, not going to lie. I wish I had a before picture, but my mind was elsewhere at the time. I'm sure you can imagine the before.
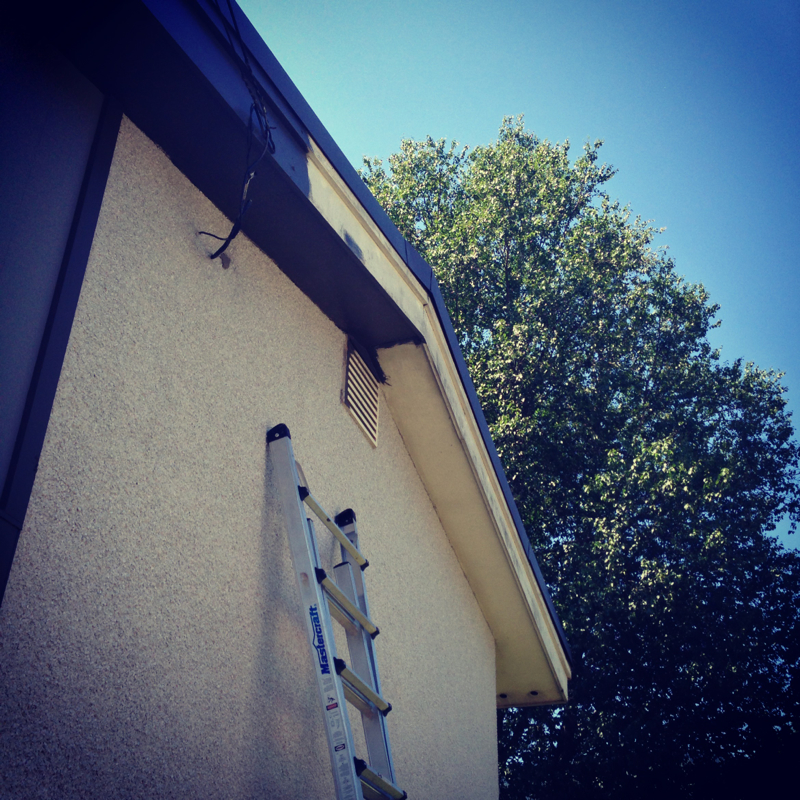
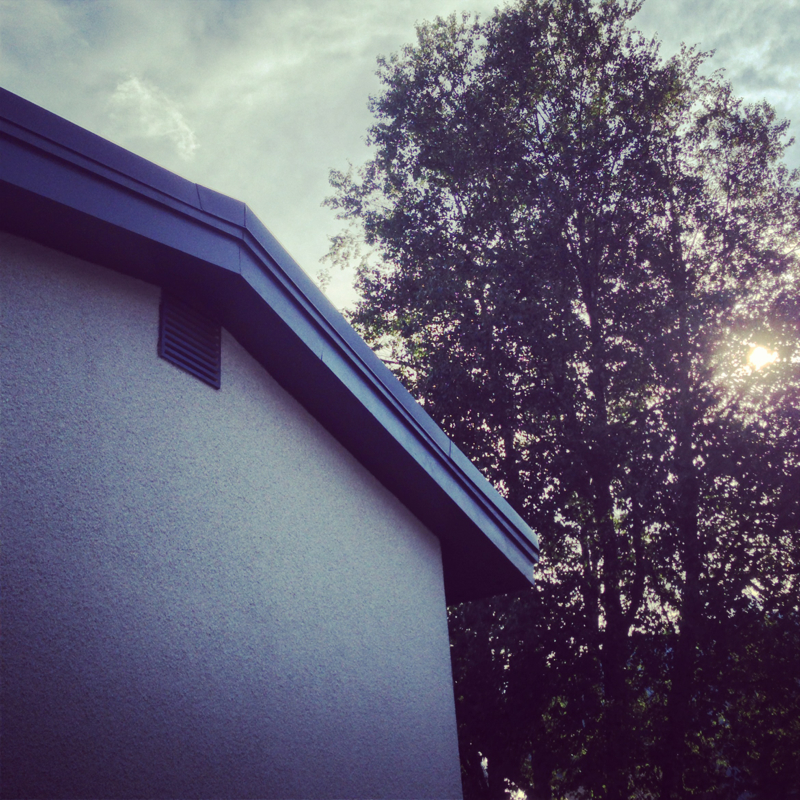
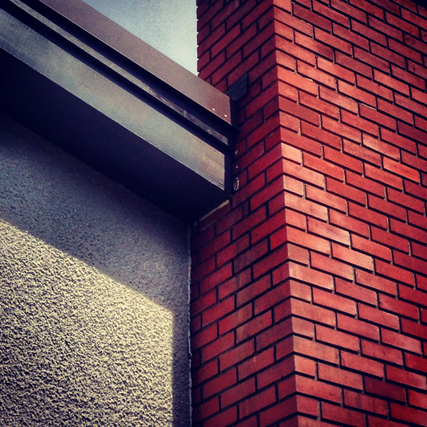
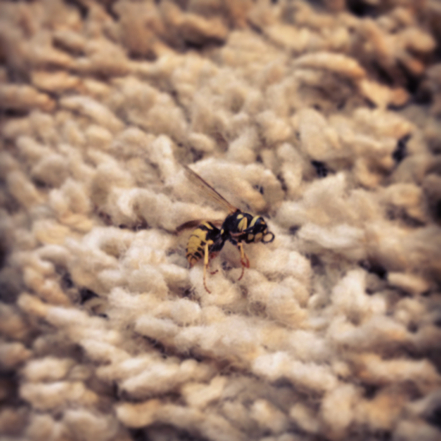
Happy Colouring Your World! Jena xo I'll whisper some words of wisdom: don't let it be! I can apply this two ways to my situation; yesterday and today. I "let it be" for far too long, but I finally finished painting the house trim. Well... It's pretty much done, with the exception of the spot where there is a huge hornet nest, and I was pissing them off with hornet spray. I figured I'd just call it a day. The house trim was left half painted for longer than I'd like to admit, so I figure it can wait another day or two before I really finish. Oh joy. Only to wake up the next day to find the hornets had declared war on me. Don't let it BEE. **  Golden Bee Embroidered Designer Pillow design by Studio 773 from: Burke Decor LLC I was up on my ladder, minding my own business, painting away, and suddenly I was getting swarmed. It was the last place I was painting for the day, right where the trim and chimney meet, and that's where those little buggers were. My neighbours watching must have thought I was either having a seizure or getting attacked by wasps. It was, in fact, the latter, but either way, I would NOT recommend doing either of those things ON A LADDER. I think I had the right to call it a day after that. So, with most of the trim painted, that was now off my chest and I slept well last night. I often can't sleep at night because I am planning what project I will attack the next day. Little did I know, I should have not only been planning an attack, but a full on war.
I woke up, had my two cups of coffee, just like any other day. Although, there was two hornets flying at our kitchen window, trying to get out. Nothing registered really with me, until Keenan went to grab something on the floor. It was another hornet. (Or wasp. Is there even a difference?) I can deal with a few bugs in my house; our doors are often left open, but when you try messing with my son, whoa, watch out! Then, while I was on the phone with my mom, talking about the problem, I got stung. It became a war. I went over to my other mom's, so Keenan would be safe against the enemy, and on the way out of my house, I killed at least thirty. 30 for me, one for them.
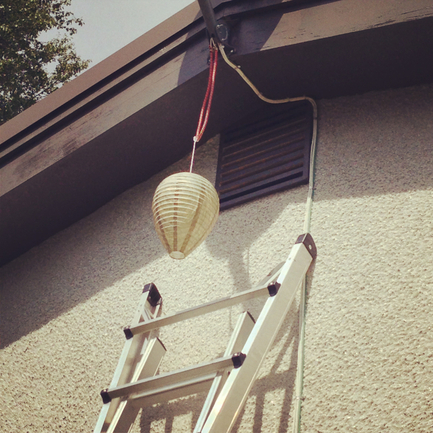
I made these bad boys before heading out, hoping those suckers would drown in the sweet, sweet sugar water of death. I bet you don't want to get on my bad side anymore, hey?
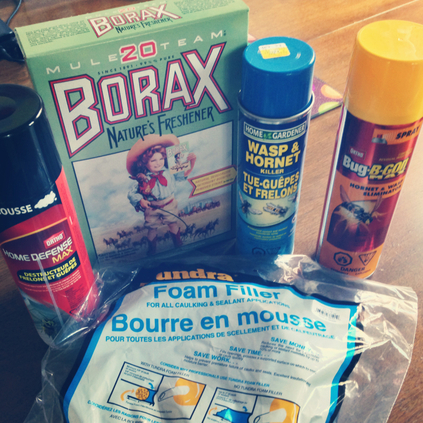
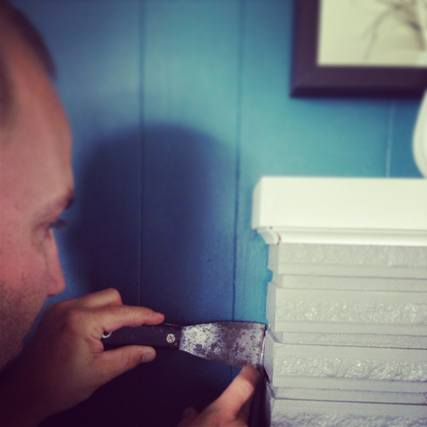
My father-in-law brought this over, and helped me spray every nook and cranny of the house. I figured out that they were coming in from the fireplace, so we sprayed there, mainly. Then, I headed to the hardware store to get every possible poison and deterrent I could find to get rid of these stupid insects. They seem to have worked, because since the spraying and adding the foam filler behind the fireplace (which totally would have helped , we have yet to see any more enemy activity. Here's to hoping! It's times like these, you realize how much you appreciate the safety of your own house. I really appreciate those who I share this house with, and I definitely prefer to keep it those that we want in our house. Happy Hornet Killing! Jena xo **Please note that I only used the term "Don't Let it BEE" for the sake of the title. This was a war on hornets, not bees. Bees are a very important species, and please try to refrain from killing those. Just stay calm around bees to avoid getting stung. Honestly, I even released the first few hornets, until my son just about picked one up and moments later I got stung. Then, I realized how many were in my house, and it was no more Ms. Nice Guy for me. But please, again, refrain from killing bees.
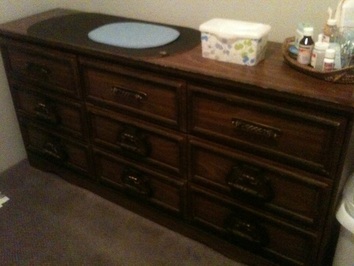
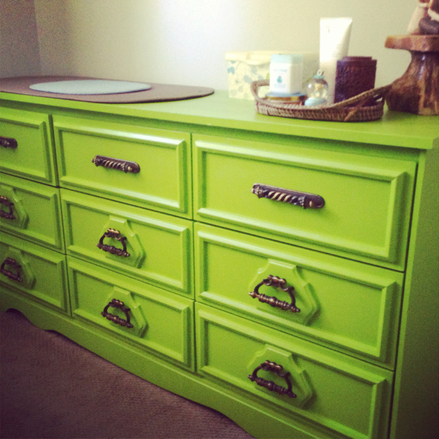
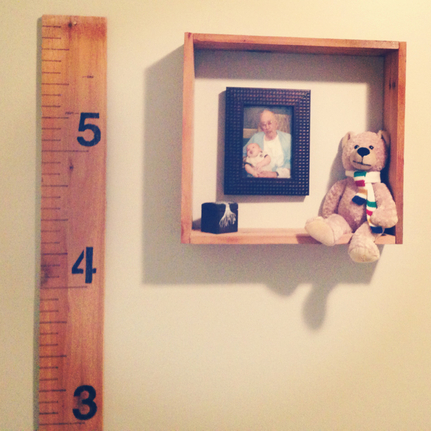
I was so sure that we were having a boy, we walked into the maternity ward, saying, "So, if it's a girl, what are we naming her??" And we walked out saying, "Good thing we popped out a boy!" Thinking of some girl names while having contractions wasn't exactly happening. We had decided on the boys name very early on, so as it played out, I got to use my last name for his first name. I added some whimsy to the ceiling with some painted twigs and pine cones tied up there with fishing line, for a floating effect. Keenan thinks it rocks. I do too. We bought this leaf from Ikea before Keenan was born, just because its cool. I had a sneaking suspicion that we were having a boy, and even if it was a girl, I'm not the girly type so she wouldn't have been getting a pink frilly room, by any means. The leaf was going in, no matter what gender. Once again the leaf was inspiration for Keenan's dresser. Originally it was Adam's, and it was perfect for Keenan to work as his dresser and change table. Keenan has a fairly small room so having pieces work as double duty is key. I painted it with Beautitone Cabinet Paint in Sqeezed Limes. If I could go back, I would definitely use a different type of paint. I even sanded and primed this sucker, and it still took me 4 or 5 coats of paint! I lost track after two, and it could probably use one more coat, for good luck. But it does look good, and it's a durable finish, the drawers aren't sticking and peeling off paint, so I guess I can't complain too much. But one coat would have been awesome. Just sayin! Lastly, we made a growth chart out of our left over wood from the fence. It's nothing fancy, just wood and a sharpie! But it sure is cute, and it's something we can take with us if we ever move. And no marking up walls. I just never could see the point of the writing on the walls. Adam also made these little boxes with the left over wood from the fence too. All we have in his room is the crib, the dresser and a chair, so it's pretty basic in there. These are nice to add a few decorations on the wall, as there isn't much floor area, and there isn't much space for little things like this anywhere other than on the wall. Obviously, I am sure this is a room that will be in constant change, as Keenan grows and tastes change, but for now, I am happy with the way it has turned out. Hope you like it too!
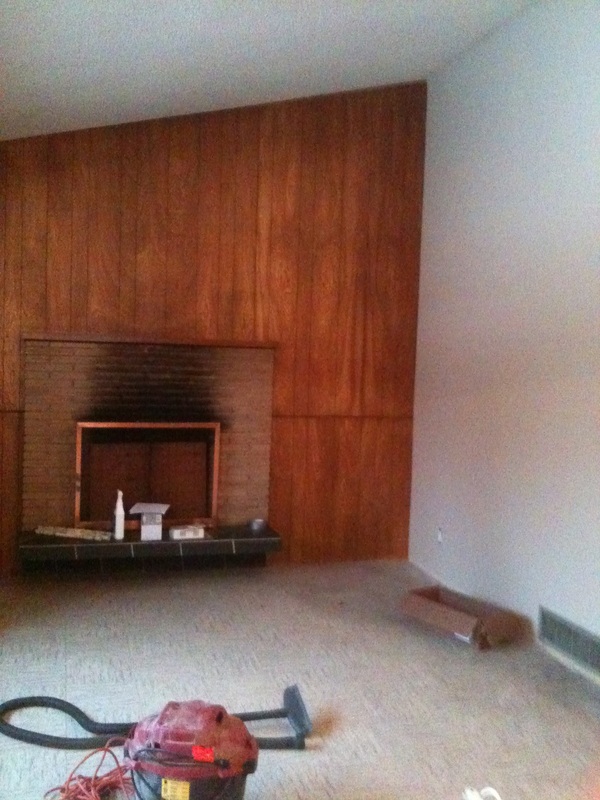
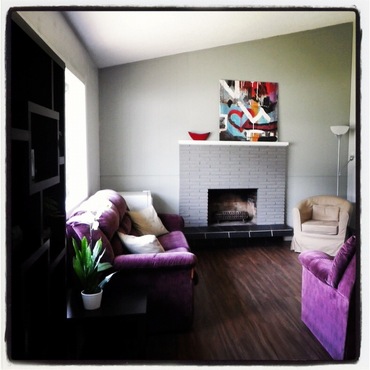
Thanks for reading! Jena I am always blown away by the versatility of paint. Whether it be art or updating your walls, paint has proven to be the cheapest reno there is. It truly amazes me what a change paint can make. Check out my latest project! My house! 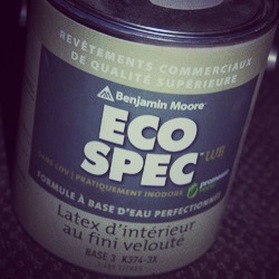 First off, is picking your paint. As if picking colours wasn't hard enough, there are endless choices of what types of paint to go with. Take my advice on this one, and go with a good, zero VOC paint. In my years I've learned that paint is one thing not to cheap out on. And I don't know if any of you have tried it, but the Benjamin Moore Eco Spec is the best eco-friendly paint EVER! There is no virtually no smell, and it goes on so smooth. Cheers to Benjamin Moore on this one. Well done. They offer an array of environmentally friendly products. Living Room: Before and After. Walls- Benjamin Moore in Gray Owl OC-52 Accent wall- Benjamin Moore in Sea Haze 2137-50 Fireplace- Benjamin Moore in Chelsea Gray HC-168 Trim- Benjamin Moore in Calm OC-22
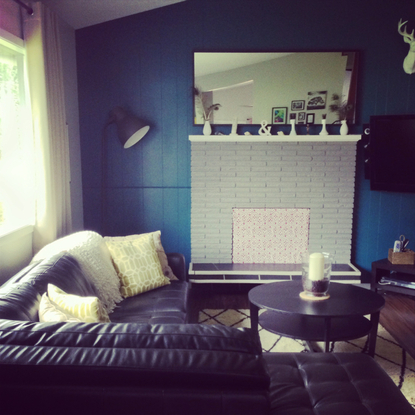
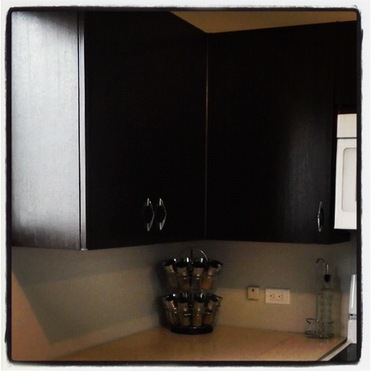
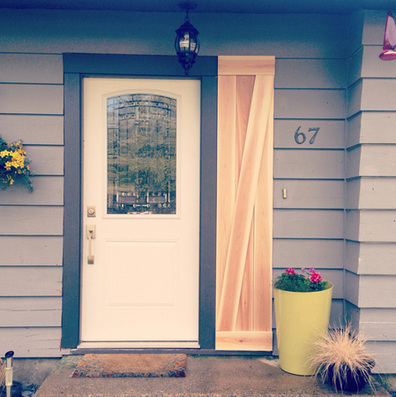
After living with the Sea Haze accent wall for a while, and getting teased for having too many shades of grey, I opted for a much more lively colour: Benjamin Moore Galapagos Turquoise 2057-20. A coat of paint later and pretty much all new living room furniture, this is how pretty we're sitting now! Kitchen: Before and After Cabinets- Saman Stain in Dark Walnut TEW-120-4 Walls- Benjamin Moore in Gray Owl OC-52 Trim- Benjamin Moore in Calm OC-22  For the cabinet stain, this stuff was great. Two coats and my cabinets look modernized and healthier. It is a water based stain, so points for my eco-conscious soul. Again, it does not smell like anything. Another great eco-friendly product I've had the chance to test out. Check out their other products. Exterior: Before and After Trim- Benjamin Moore in Iron Mountain 2134-30 Siding- Benjamin Moore in Wall Street CSP-20
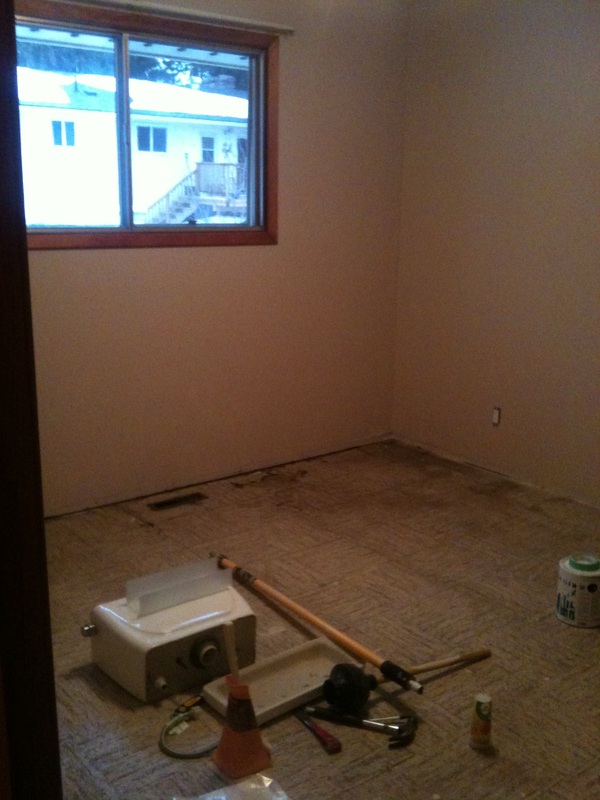
Master Bedroom: Before and After I'm loving this one! It is such a calming colour, I feel very at peace in this room. As does our dog, Bocephus. Walls- Benjamin Moore in Tempest AF-590 Trim- Benjamin Moore in Calm OC-22
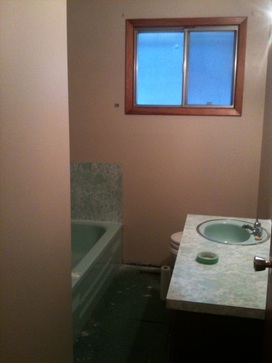
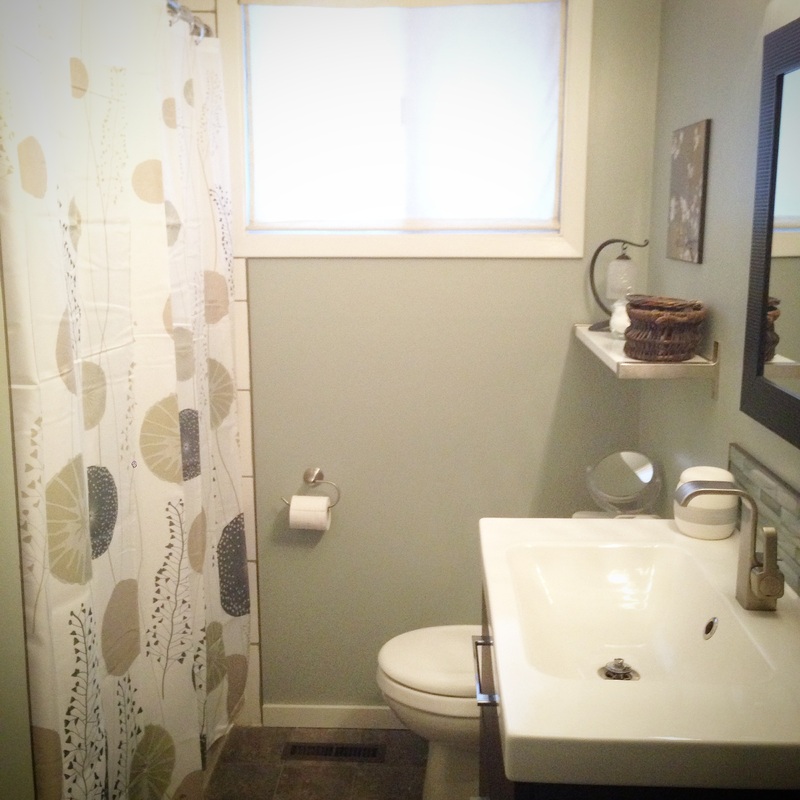
Bathroom: Before and After Ok, this one wasn't just a quick coat of paint, but it still got updated with painted walls and trim. Along with a new bathtub, tile, floor, vanity, etc... It's a small bathroom, but we made the most of the space with a 30" floating vanity instead of the largest, yet lowest possible aqua coloured sink and counter, which of course, matched the bath. Walls- Benjamin Moore in Misted Green 2138-50 Trim- Benjamin Moore in Calm OC-22
|
Ants on a BlogBy Jena Keenan Categories
All
Archives
November 2017
|
