|
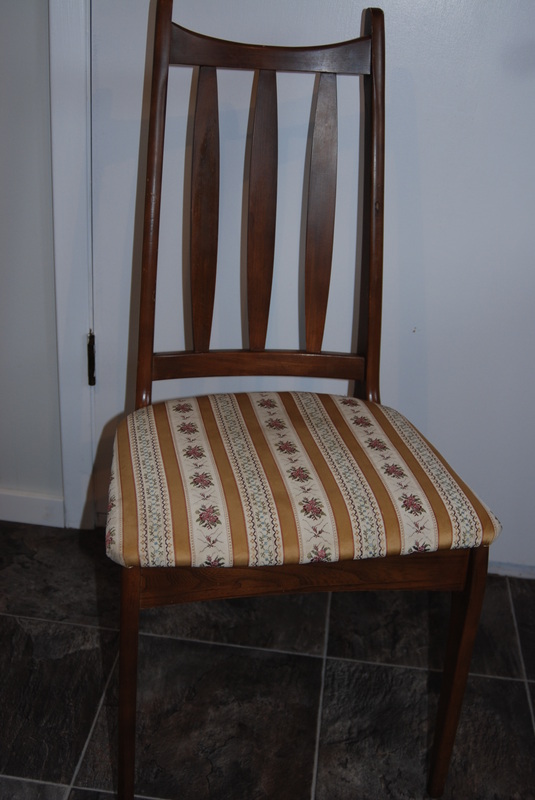
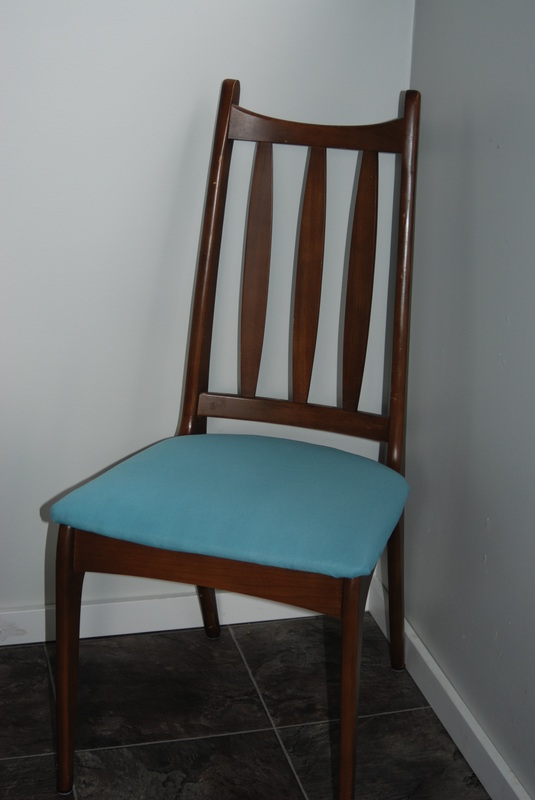
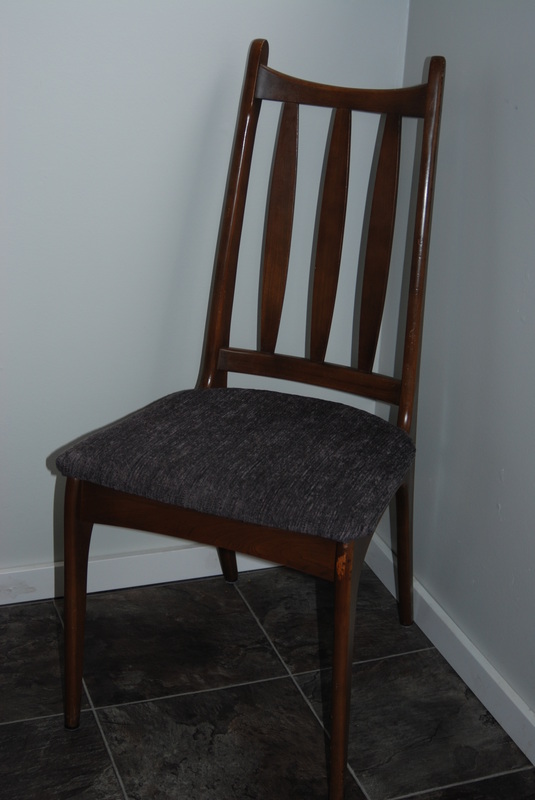
After a one month hiatus from writing, due to child birth, I was inspired to write about the recovery of not myself, but of these cool, second hand chairs that we bought for the kitchen. I love when we are able to look past the surface and see how cool these retro chairs are, despite the not so pretty cushion pattern. Through some trial and error, we finally got to the desired result. With some elbow grease and TLC, these chairs are back in their glory! As much as I loved the colour of our first attempt, a solid colour was just too risky when kids are involved. I realized this the second a child sat on the seat for the first time with chocolate covered hands. Too bad, but lesson learned. Next attempt proved more successful with a textured grey material, which ties in great with our flooring. 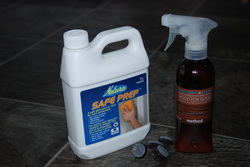 Step one. We prepped and cleaned the chairs with Natura Safe Prep, which is the eco-friendly alternative to TSP, then used a nice wood surface cleaner- Method Wood for Good (smells like almonds!). We also added felt protectors on the bottoms of the legs. Smooth sailing... 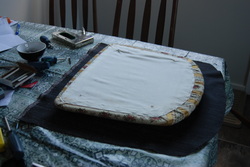 Step two. After, of course, removing the seat. Cut out the material to a seat shaped chunk. 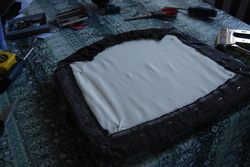 Step three. Staple gun the crap out of the seat. Think of wrapping birthday presents. 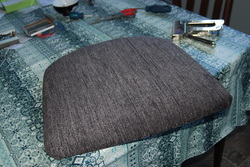 Step four. Flip over and admire. 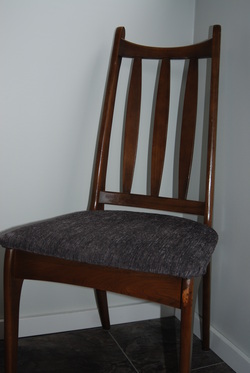 Step five. Screw seat back onto chair and admire some more. This is definitely an quick, easy way to update your upholstered chairs. I bought the material for under twenty dollars, so it's easy on the wallet too- saves buying new chairs! I've decided to add "Recover" to the 3 R's. Ya, I did.
4 Comments
6/26/2013 03:08:38 pm
Thank you! I'm definitely glad that I went with a super textured material because yes, with kids EVERYTHING is hard to keep clean!
Reply
Shirley
7/23/2012 10:38:28 am
Chairs look perfect, good job girl
Reply
7/11/2023 02:30:16 am
Great read thankyou
Reply
Leave a Reply. |
Ants on a BlogBy Jena Keenan Categories
All
Archives
November 2017
|
