|
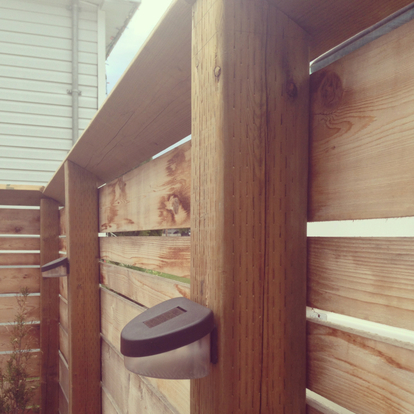
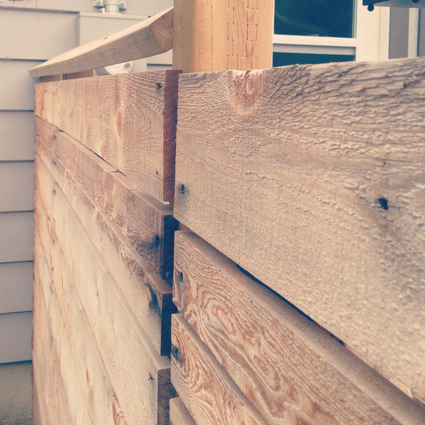
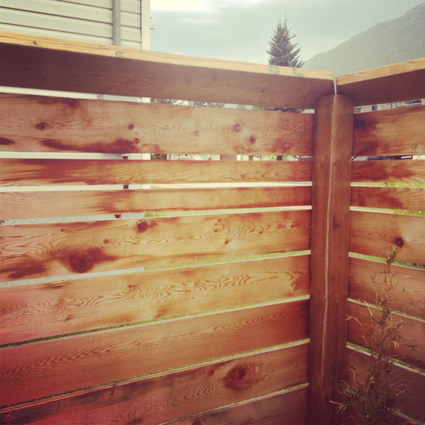
Ok, so one of the first things we did to our house when we bought it was build a fence. We had been loving our entire pregnancy at Adam's parents (bless them for putting up with us!) and so the least we could do for our dog was to give him a yard to run around in. I'll admit, it did happen after the little dude was born... Priorities suddenly diverted from the dog. Sorry, Bo. At least he had a little girlfriend next door. Thankfully, we had practise building one other fence before, but this time we decided for a bit of a different design. Instead of doing the typical vertical fencing, we chose to do our fencing horizontally. This meant more vertical support, aka more posts, which meant more holes to be dug. Our posts were spaced 4' apart, which is definitely overkill for a vertical fence, but for a horizontal fence it was perfect. This is to prevent the boards from bowing. It also provided us with a perfect amount of vertical posts for solar lights. Nice ambiance, let me tell you!
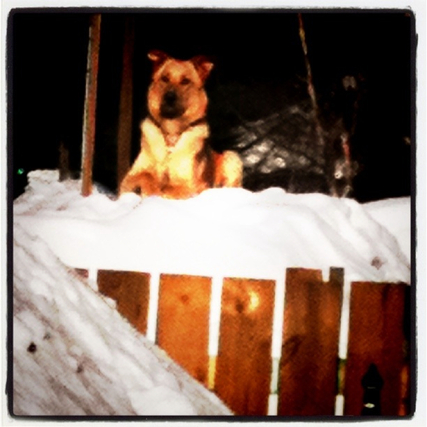
We also topped the fence off with a diagonal capping piece to allow the snow to slide off instead of piling on top of the fence. Snow is a pretty integral factor in the design of the fence. Why, you ask? This was the last fence we built. It was five feet tall. Thus, the snow cap. And the increase in height. It is now just under six feet, and it's been good so far, but we did have a pretty mild winter with only about 4-5 feet of snow on the ground. (We do live in a ski town, might I add)
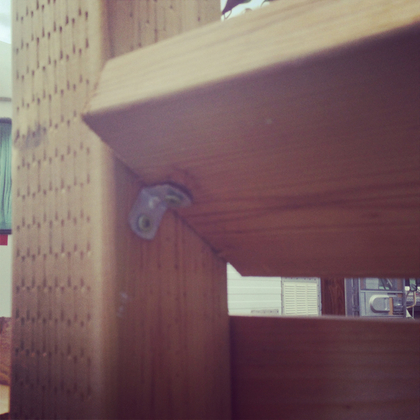
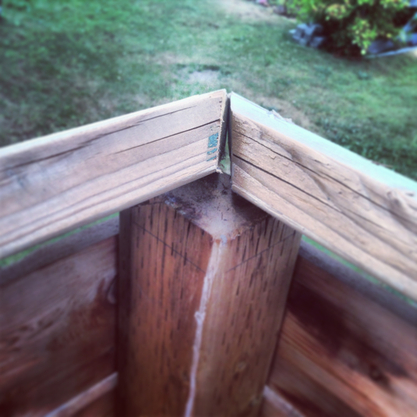
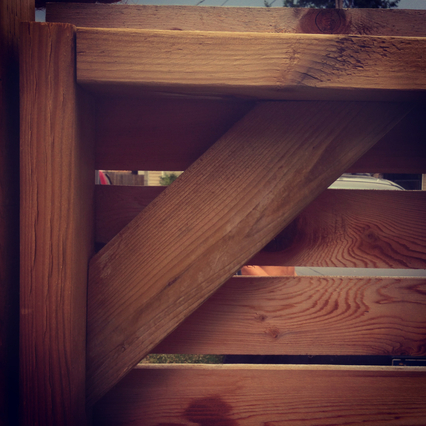
The one tricky part we had with the angled cap was the corner where the two angles meet at the corner post. It was the only thing that was off, and I'll admit, I was so relieved to have the fence up, I just said good enough and we will plant a tree in the corner to hide it. Oops. Normally Adam and I are pretty anal about that kind of thing but we can't all be perfect... It does look fine from the road, so consider yourself lucky that I let you in on our little secret! Hopefully the cool little 1x2 feature at eye level distracts you.
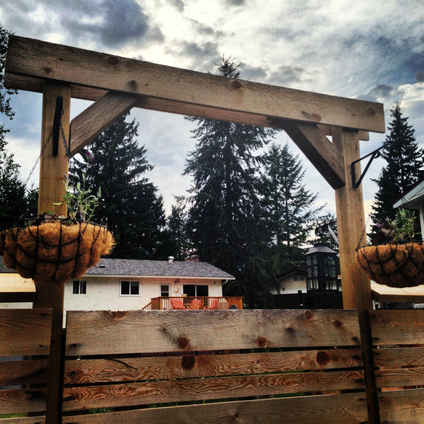
To finish off our gate, I really wanted to make it an interesting feature, so about a year later, we finally finished it off with the left over wood we had. I would have probably preferred it to be a thicker piece of wood; a 1x8 or 10 instead of the 1x6 might be more of the right proportion for the fence, but we used what we had, and I think it still turned out nicely.
Gates are tricky when building. All I can stress is bracing and levelness. I wasn't in charge or the fence design, so I don't have much I can tell you in terms of how-to. We started with a 2x4 frame, and it went from there. So, there you have it: our fence building in a nutshell! I know its not the norm when it comes to fences, but I love it. Sometimes, you just have to go against the flow and do what you want. So that's what we did. Oh, and P.S. if you are building a fence with pressure treated wood, make sure you use coated screws specifically for decks and fences. Otherwise you will be replacing EVERY SINGLE SCREW. Yup. They rust almost immediately. It's not fun. I thought the black 2-1/2" screws were the coated ones. Those are drywall ones. The kind of greenish ones are the ones to use. Don't make my mistake! Seriously. Happy fencing! Jena xo
0 Comments
Leave a Reply. |
Ants on a BlogBy Jena Keenan Categories
All
Archives
November 2017
|

